Learn simple, safe ways to sterilize baby bottles at home. This guide shows quick methods—boiling, steam, microwave, dishwasher, and cold sterilizing—plus tips and safety steps so your baby’s bottles stay clean and safe.
Key Takeaways
- Point 1: You can sterilize bottles with boiling water, steam sterilizers, microwave sterilizers, dishwasher sanitize cycles, or cold sterilizing solutions.
- Point 2: Prep bottles by washing with soap and water first. Rinse well to remove milk residue.
- Point 3: Follow timing guidelines: boil 5–10 minutes, steam 5–8 minutes, microwave 2–6 minutes depending on the method.
- Point 4: Sterilize nipples, rings, caps, and any tools that touch milk or the baby’s mouth.
- Point 5: Store sterilized bottles in a clean, sealed container or assemble them immediately to keep them sterile.
- Point 6: If you travel, use single-use sterilizing bags or a portable steam sterilizer for quick results.
- Point 7: Always check bottles and nipples for damage. Replace worn parts to keep feedings safe.
Introduction
This guide shows you exactly how to sterilize baby bottles quickly and safely at home. You will learn fast, easy methods. You will also learn when to sterilize, what to sterilize, and how to store bottles after sterilizing. The steps are simple. The language is clear. The tips are practical. Follow these steps to reduce germs and protect your baby.
Why sterilize bottles?
Newborns have weak immune systems. Germs that are tiny to adults can make babies sick. Sterilizing kills most bacteria, viruses, and fungi. It adds an extra layer of protection beyond regular washing. Sterilizing is most important in the first 3 months. It is also important for premature or ill babies.
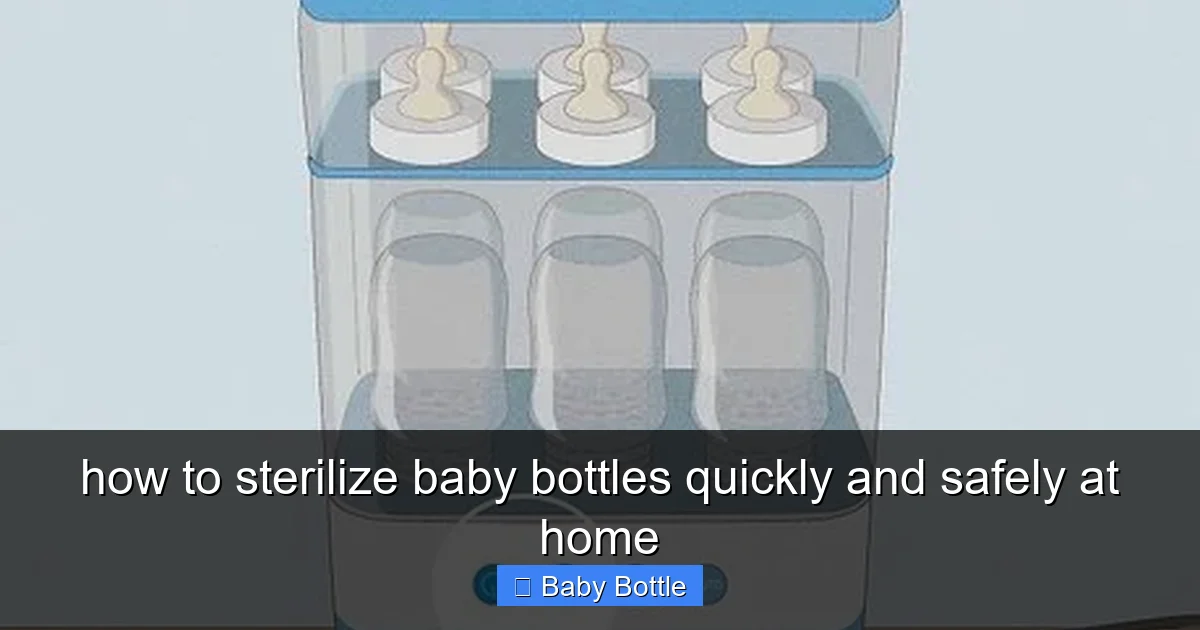
Visual guide about how to sterilize baby bottles quickly and safely at home
Image source: wikihow.com
What you will need
Gather supplies before you start. This saves time. Typical items include:
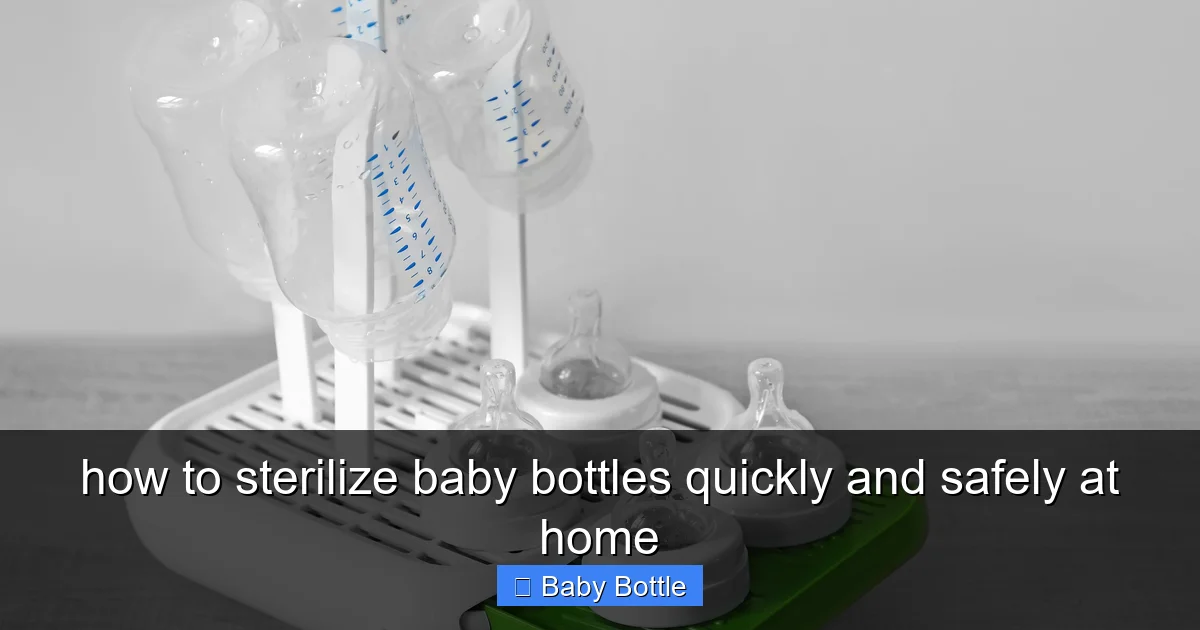
Visual guide about how to sterilize baby bottles quickly and safely at home
Image source: mamanatural.com
- Baby bottles, nipples, rings, caps
- Dish soap and a bottle brush
- Large pot with lid (for boiling)
- Electric steam sterilizer or microwave sterilizer (optional)
- Dishwasher with sanitize cycle (optional)
- Clean tongs or sterile gloves
- Clean drying rack or clean towel
- Sterilizing solution or tablets (for cold method)
When to sterilize bottles
Sterilize before first use. Sterilize again when the baby is under 3 months old, premature, or ill. You can also sterilize if the bottle touched the floor or a dirty surface. After 3 months, many parents switch to regular washing and dishwasher sanitizing. But some prefer to keep sterilizing longer. Follow your pediatrician if you have questions.
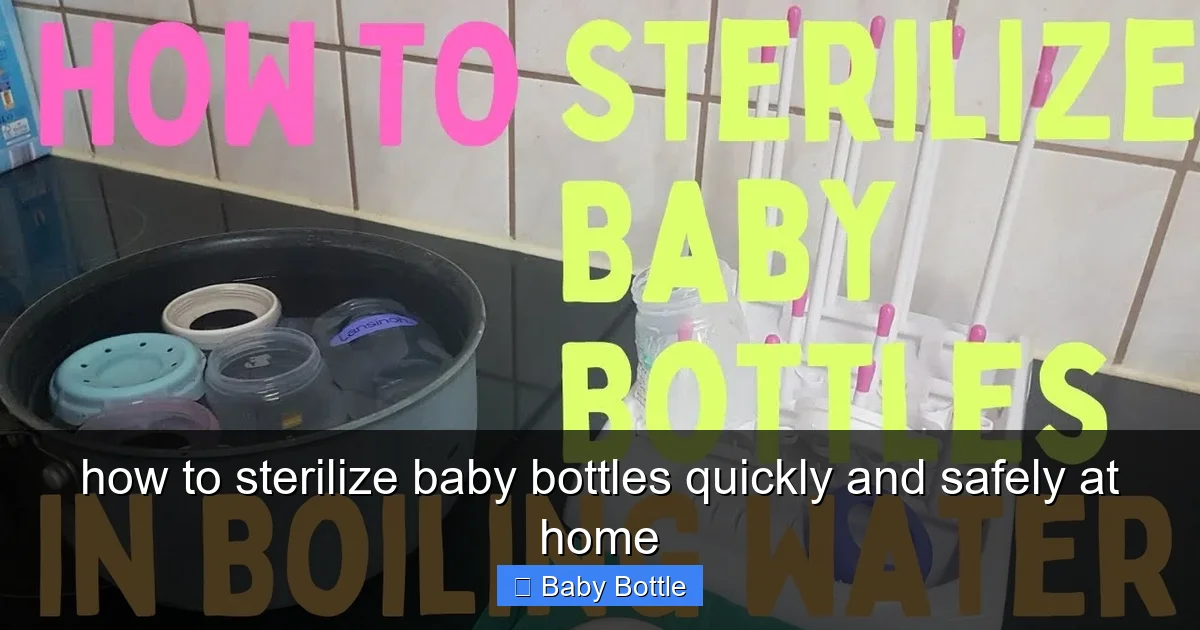
Visual guide about how to sterilize baby bottles quickly and safely at home
Image source: i.ytimg.com
Method 1: Boiling (fast and low-cost)
Boiling is a classic method. It’s cheap. It works well. You only need a pot and water.
Step 1: Clean the bottles
Wash bottles, nipples, and parts with warm soapy water. Use a bottle brush to scrub inside. Rinse well. Remove any milk residue.
Step 2: Prepare the pot
Fill a large pot with enough water to cover bottles and parts. Place a clean cloth or a rack at the bottom. This stops bottles from touching the hot metal directly. Place the pot on the stove.
Step 3: Boil
Put bottles and parts into the pot. Bring water to a rolling boil. Boil for 5 minutes for glass bottles. Boil for 10 minutes if your baby is newborn, preemie, or sick. Keep the pot covered.
Step 4: Remove and dry
Turn off the heat. Use clean tongs to lift bottles and parts. Place them on a clean drying rack or a clean towel. Let them air dry. Do not wipe with a dirty cloth.
Practical tips for boiling
- Do not overboil plastic bottles. Some plastics can warp. Check the bottle label for heat guidance.
- Replace nipples if they cloud, crack, or become sticky.
- Use distilled water if your tap water is very hard or contains impurities.
Method 2: Electric Steam Sterilizer (fast and easy)
Electric steam sterilizers are made for baby gear. They are safe. They are quick. They use hot steam to kill germs.
Step 1: Wash first
Always wash bottles and parts with soap and water first. Rinse well.
Step 2: Load the sterilizer
Place parts in the sterilizer as the manual suggests. Try not to overfill. Close the lid.
Step 3: Run the cycle
Turn on the sterilizer. Most units run for 6 to 12 minutes. Check the manual. The machine will turn off by itself when done.
Step 4: Store or use
Use the bottles right away if you plan to feed. Or leave them in the closed sterilizer. Many units keep items sterile for up to 24 hours if the lid stays closed.
Practical tips for steam sterilizers
- Follow the manufacturer’s water and cleaning instructions.
- Don’t add soap to the sterilizer. Only clean bottles first.
- Unplug when not in use and empty water after the cycle to prevent buildup.
Method 3: Microwave Steam Sterilizer or Microwave Bags (very quick)
Microwave sterilizers and microwave sterilizing bags are fast. They use steam from microwave-heated water.
Step 1: Clean first
Wash and rinse bottles and parts.
Step 2: Add water and load
Follow the bag or microwave unit instructions. Usually you add a small amount of water and put items inside.
Step 3: Microwave
Microwave for 2–6 minutes depending on the bag and the microwave’s power. Let the steam cool before opening. Use tongs to remove items.
Practical tips for microwave sterilizing
- Be careful when opening. Hot steam can burn.
- Check the bag is microwave-safe and not damaged.
- Do not microwave metal bottle parts.
Method 4: Dishwasher with Sanitize Cycle (hands-off)
Many modern dishwashers have a sanitize cycle. This cycle reaches high heat to kill bacteria. Dishwashers are great for busy parents.
Step 1: Pre-rinse and place
Rinse milk from bottles. Place bottles and parts on the top rack. Arrange nipples in a basket or secure them so they don’t flip.
Step 2: Run sanitize cycle
Use the dishwasher’s sanitize or high-heat cycle. Use a regular baby-safe detergent. Do not mix hazardous chemicals.
Step 3: Dry and store
Leave bottles in the closed dishwasher until dry. Or use a clean drying rack. Store assembled bottles in a clean container.
Practical tips for dishwashers
- Check bottle heat tolerance. Some plastics may warp in high heat.
- Use a baby bottle basket to keep small parts safe.
- Regularly clean the dishwasher filter and run a hot empty cycle to keep it sanitary.
Method 5: Cold Water Sterilizing (useful for travel)
Cold sterilizing uses special tablets or solutions. This method is good for travel or when you don’t have heat. It is effective when used correctly.
Step 1: Wash and rinse
Wash bottles and parts first. Rinse off soap fully.
Step 2: Prepare solution
Follow the tablet or solution instructions. Use the correct water amount and solution strength.
Step 3: Soak
Submerge bottles and parts fully. Soak for the time given, usually 15–30 minutes. Make sure no air is trapped inside bottles.
Step 4: Remove and rinse (if required)
Some solutions require rinsing with cooled, boiled water. Others do not. Check the product label. Use clean tongs to remove items.
Practical tips for cold sterilizing
- Store the solution in a clean container and replace per instructions.
- Keep the solution out of reach of children and pets.
- Always follow dilution and soaking time from the manufacturer.
What to sterilize
Sterilize anything that touches baby’s mouth or milk. This includes:
- Bottles (inner surfaces)
- Nipples and teats
- Breast pump parts that touch milk
- Pacifiers and feeding spoons
How often to sterilize
Sterilize before first use. For newborns and premature babies, sterilize after every use. Older babies may not need daily sterilizing. Many parents sterilize once a day or a few times a week. If a part falls on the floor, sterilize that part.
How to store sterilized bottles
Store bottles assembled or in a sealed, clean container. Put them in a cupboard or box that is clean and dry. Sterilized items can stay sterile for up to 24 hours if kept sealed and untouched. Use clean hands when you handle them.
Travel tips and quick fixes
- Use microwave sterilizing bags for hotel rooms. They are lightweight and fast.
- Bring cold sterilizing tablets for trips without a microwave or stove.
- Pre-sterilize and pack bottles in a sealed container if you are heading out for a few hours.
- Disposable pre-sterilized bottles are available in emergencies.
Safety and common mistakes
- Never use bleach or other harsh chemicals unless they are made for baby items and instructions allow it.
- Do not place bottles on a dirty towel after sterilizing.
- Avoid touching the inside of the bottle or nipple with unwashed hands.
- Check and replace damaged parts. Cracks can harbor bacteria.
Troubleshooting
Here are common problems and quick fixes.
Cloudy or white film after boiling
Hard water can leave mineral deposits. Use distilled water for boiling. Vinegar soak can remove build-up. Rinse thoroughly after cleaning.
Strong smell after sterilizing
Plastic can retain odor. Wash bottles with baking soda or baby bottle cleaner. Run a second sterilizing cycle. Replace bottles if the smell won’t go away.
Nipples become sticky or discolored
This is a sign of wear. Replace nipples every 2–3 months or sooner if they show damage. Do not attempt to repair damaged nipples.
Microwave steam not working
Check water amount and the bag’s condition. Microwaves vary in power. Increase time in small steps. Follow the sterilizer or bag instructions.
Bottles still dirty after washing
Use a bottle brush and heated water. Clean bottle rings and caps carefully. Soak in warm soapy water for a few minutes, then scrub.
Eco and budget notes
Boiling uses stove energy but no extra purchases. Electric sterilizers use electricity but are quick and water-efficient. Microwave bags are single-use or limited-use. Choose what fits your budget and your environmental values. Reuse sterilizers as long as they are in good condition.
FAQ about frequency and safety
Short answers: Sterilize everything at first. Then follow your baby’s needs. Ask your pediatrician if unsure. Use common sense and clean hands.
Final checklist before you start
- Wash your hands.
- Clean bottles with soap and a brush.
- Choose a sterilizing method.
- Use clean tongs or gloves to handle sterilized parts.
- Store sterilized bottles in a sealed, clean place.
Conclusion
You now know several ways to learn how to sterilize baby bottles quickly and safely at home. Boiling, steam, microwave, dishwasher, and cold solutions all work. Each method has pros and cons. Choose the one that fits your life. Be consistent about cleaning first. Check parts for wear. Store bottles safely. These steps keep feeding time safe and calm. Your baby will be safer. You will feel more confident. Happy feeding!
🎥 Related Video: How to sanitize/sterilize baby feeding bottles | sterilize feeding bottles without sterilizer
📺 Fussy Mommy Explores
