Choosing the right position for your baby carrier is crucial for both your comfort and your baby’s safety. In this guide, you will learn about the various seating positions and how to adjust your carrier for optimal support. Make carrying your baby enjoyable and safe with the right techniques!
Key Takeaways
- Position Matters: The position of your baby carrier affects both your comfort and your baby’s safety.
- Types of Positions: There are several carrying positions, including front-facing, back-facing, and hip carries.
- Proper Support: Ensure that your baby’s head, neck, and spine are adequately supported in every position.
- Adjustability: Most carriers are adjustable; always double-check the fit before use.
- Comfort for You: A well-fitted carrier should distribute your baby’s weight evenly to avoid strain.
- Monitoring Baby: Always keep an eye on your baby’s position and comfort while carrying.
- Practice Makes Perfect: It may take time to find the best position; practice at home before venturing out.
The Best Position Where Should Baby Carrier Sit for Comfort
Finding the right position for your baby carrier is key to a comfortable and safe experience for both you and your baby. In this guide, you will learn about the various positions, how to adjust them, and practical tips to make carrying your little one a breeze. Let’s dive in!
Understanding the Types of Baby Carrier Positions
Baby carriers come with different seating options. Here are the most common positions:
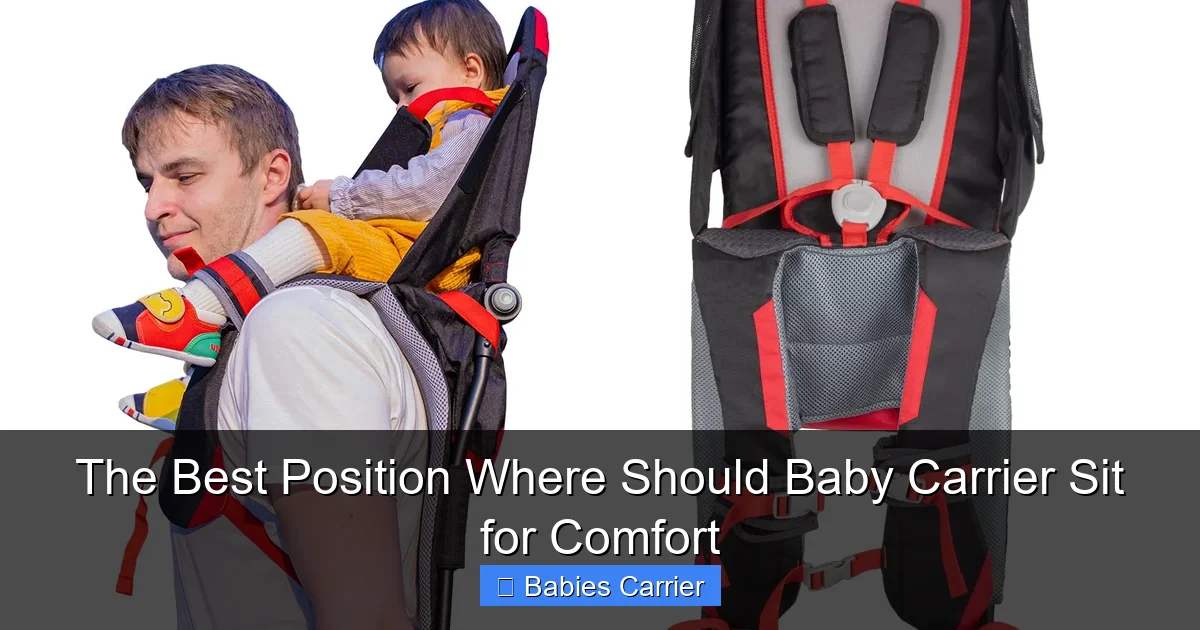
Visual guide about The Best Position Where Should Baby Carrier Sit for Comfort
Image source: m.media-amazon.com
- Front-Facing Inward: This is the most popular position for newborns and young infants. It allows for closeness and bonding.
- Front-Facing Outward: This position is great for older babies who want to see the world, but ensure they have good head and neck control.
- Hip Carry: This position is useful for toddlers who want to be held but also want to see their surroundings. It’s also great for quick access.
- Back Carry: This is ideal for older babies and toddlers. It offers freedom of movement for the parent and allows the child to enjoy the ride.
Step-by-Step Guide to Positioning Your Baby Carrier
Step 1: Choose the Right Carrier
Before considering the position, ensure you have a suitable baby carrier. There are soft-structured carriers, wraps, and slings. Each type has its unique way of fitting your baby.
Step 2: Prepare Your Baby
Make sure your baby is calm and content. You can start by placing them on your lap to get them used to the idea of being in a carrier.
Step 3: Front-Facing Inward Position
This is the best starting position for newborns:
- Open the carrier and place it on your body.
- Secure your baby in the carrier, ensuring their legs are in an “M” position with knees higher than the bottom.
- Adjust the straps to ensure the carrier is snug but not too tight.
- Check that your baby’s chin is not resting on their chest, which can restrict airflow.
Step 4: Front-Facing Outward Position
Once your baby can support their head and neck, you can try this position:
- Turn your baby around so they face outward.
- Make sure the carrier is secure and your baby’s legs are in the correct position.
- Adjust the shoulder straps for your comfort and your baby’s security.
Step 5: Hip Carry
Perfect for older babies and toddlers:
- Position your baby on your hip.
- Secure the carrier around your waist and over your shoulder.
- Ensure your baby is secure and can see around.
Step 6: Back Carry
For toddlers, this position is beneficial:
- With the carrier on your hips, lift your baby onto your back.
- Secure the straps appropriately, ensuring your baby is comfortable and safe.
- Check that your baby can see over your shoulder and is well-supported.
Practical Tips for a Comfortable Carrying Experience
- Practice at Home: Before taking your baby out, practice the different positions at home to build confidence.
- Use a Mirror: A mirror can help you check the positioning while you’re learning.
- Take Breaks: If you feel any discomfort or strain, take a break and readjust your carrier.
- Dress Accordingly: Dress your baby in lightweight, breathable clothing to avoid overheating.
- Stay Aware: Always be aware of your baby’s comfort. If they cry or show signs of discomfort, check their positioning.
Troubleshooting Common Issues
Baby’s Head is Drooping
If your baby’s head is drooping, it may indicate they are not adequately supported. Adjust the carrier to provide better neck and head support.
Discomfort in Your Back or Shoulders
Ensure that the carrier is appropriately adjusted. It should distribute weight evenly across your body. If discomfort persists, try a different carrying position.
Baby is Fussy in the Carrier
Your baby may be uncomfortable due to tightness or lack of proper positioning. Check the fit and ensure your baby’s legs are in the correct position.
Conclusion
Finding the best position for your baby carrier is essential for comfort and safety. By understanding the different positions and how to adjust your carrier, you can create a positive experience for both you and your baby. Remember to practice and stay aware of your baby’s needs. Happy carrying!
🎥 Related Video: The do’s and don’ts of baby carriers 🚼 #shorts #babycarrier #momtip #chiro #baby #chiropractor
📺 Momma’s Chiro