Which baby bottle warmer is best depends on your needs. This guide helps new parents pick a warm, safe, and easy model. It covers types, key features, step-by-step setup, and care tips to make nightly feeds calm and quick.
Key Takeaways
- Point 1: Know your feeding style—rush feeds, paced bottle feeds, or mix of breast and formula will guide pick.
- Point 2: Choose a type—steam, water bath, or portable—based on speed and safety needs.
- Point 3: Look for safety features—auto shut-off, temperature control, and BPA-free materials.
- Point 4: Consider bottle compatibility—wide-neck, narrow, or all-size models matter.
- Point 5: Think about ease of cleaning—a simple design saves time and reduces mold risk.
- Point 6: Budget vs features—spend more for faster, timed, and multi-use warmers if you need them.
Which baby bottle warmer is best for New Parents 2026
This guide shows you how to pick the best bottle warmer. It answers common questions. It gives step-by-step guidance for buying, using, and caring for a warmer. By the end, you will know which baby bottle warmer is best for your home and routine.
Introduction: What you will learn
You will learn the types of warmers. You will learn what features matter. You will learn how to test a warmer at home. You will learn safe use and cleaning tips. This guide focuses on simple steps for busy parents. It also explains how to choose when asking “which baby bottle warmer is best.”
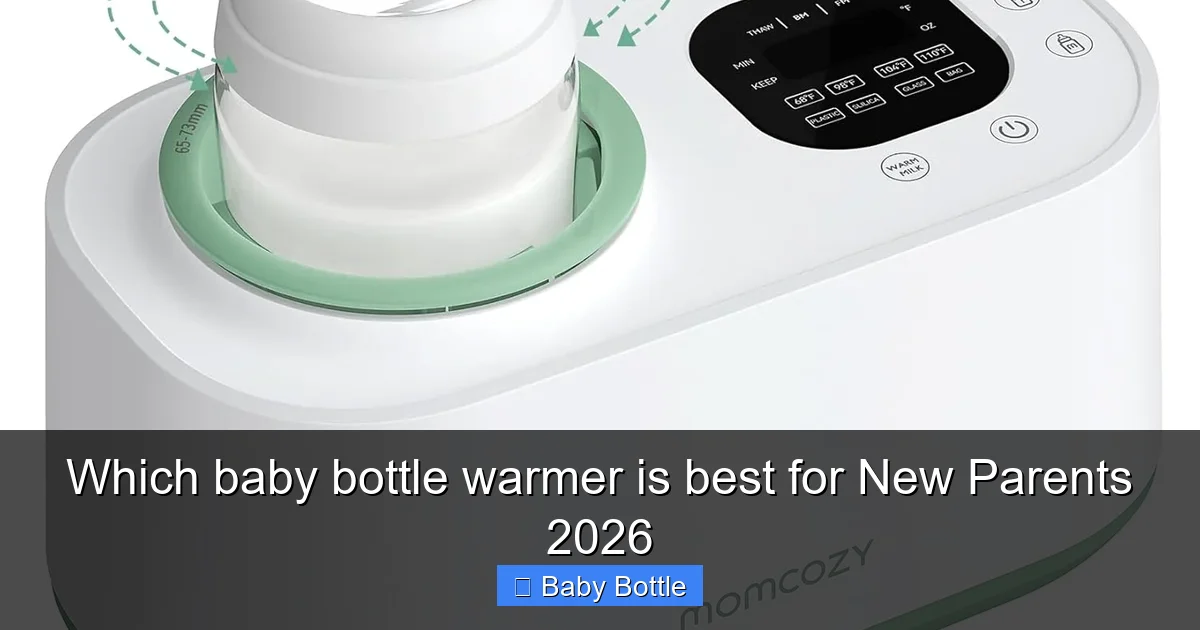
Visual guide about Which baby bottle warmer is best for New Parents 2026
Image source: m.media-amazon.com
Step 1: Decide your feeding needs
Start by thinking about your daily life. Ask simple questions. The answers will guide you to the right warmer.
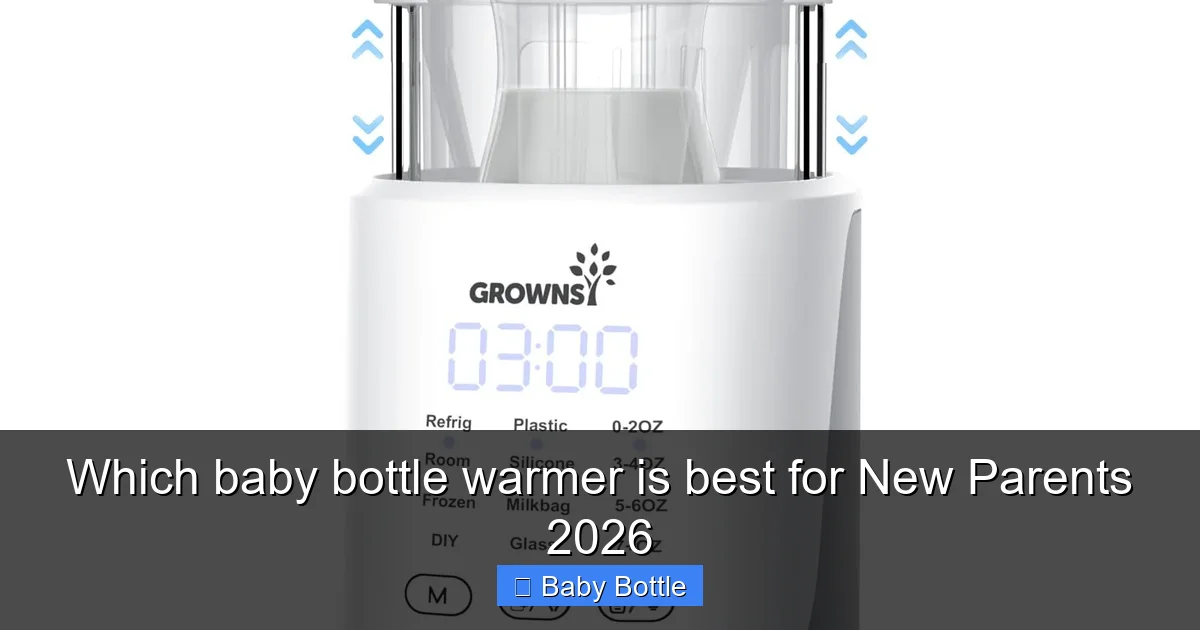
Visual guide about Which baby bottle warmer is best for New Parents 2026
Image source: m.media-amazon.com
1.1 How often will you warm bottles?
If you warm bottles many times a day, speed and reliability matter. If you only warm a few at night, a basic model is fine. Ask yourself: will my baby eat every 2–3 hours? Will I need a quick pre-bed feed?
1.2 Bottle types you use
Check what bottles you have. Some warmers fit wide-neck bottles well. Others suit narrow bottles better. If you use many brands or breast milk bags, choose a versatile warmer. This helps answer “which baby bottle warmer is best” for mixed bottle sets.
1.3 Do you travel often?
If you travel, a portable warmer or an electric model that is compact is best. If you stay home, you can pick a larger, faster model. Think about weight, power needs, and how you will warm bottles in a car or hotel.
1.4 Budget and lifespan
Decide how much to spend. A low-cost warmer may work well for a year. A higher cost unit offers speed and advanced features. Think of cost per use. This helps you answer “which baby bottle warmer is best” for your money.
Step 2: Learn the types of bottle warmers
There are three main warmer types. Each has perks and limits. Know these to pick the right one.
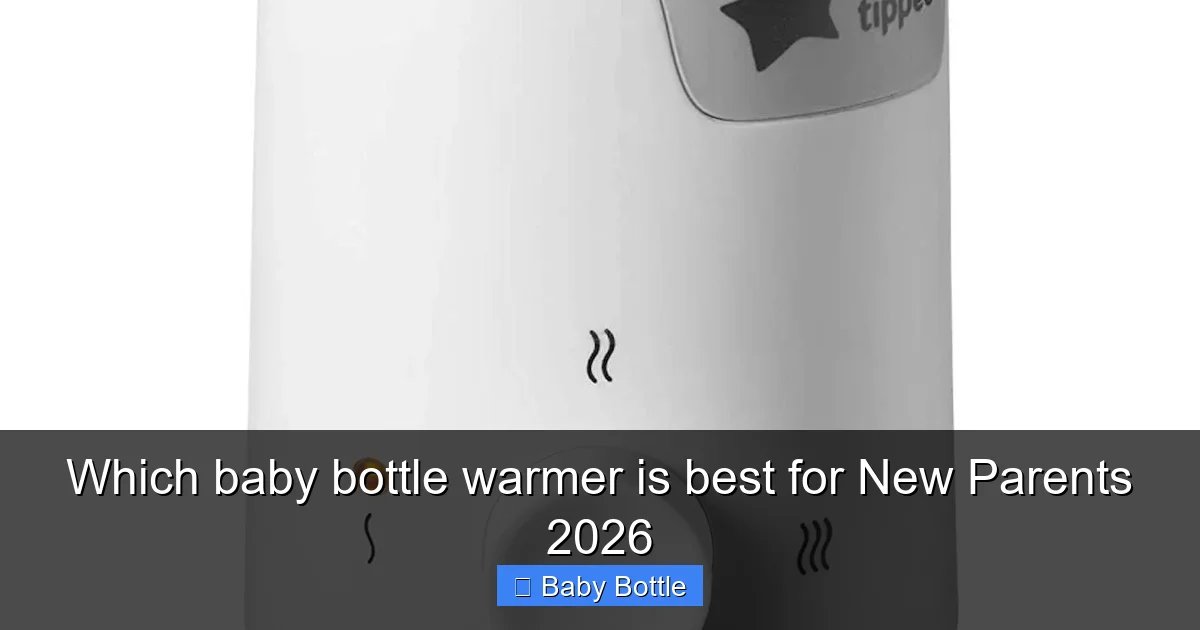
Visual guide about Which baby bottle warmer is best for New Parents 2026
Image source: parents.com
2.1 Steam warmers
Steam warmers heat fast. They work in 2–6 minutes. They are great for night feeds. But they can create hot spots. You must swirl the bottle after warming. Steam models need cleaning to remove mineral build-up.
2.2 Water bath warmers
Water bath warmers heat more gently. They reduce hot spots. They are great for breast milk because they protect nutrients. They take longer than steam models. They often come with temperature control or timed warm settings.
2.3 Portable and travel warmers
These use USB, car power, or thermal insulation. They are slower. They keep milk warm for a while. They are ideal for short trips and on-the-go. They are not as fast as plug-in warmers.
2.4 Microwave-safe warming (not recommended)
Do not microwave bottles with nipples attached. Microwaves can heat unevenly and create hot spots. This can burn your baby. The safest option is a designed bottle warmer.
Step 3: Key features to look for
Find a warmer with the right features. This makes life easier. Use this checklist when you compare models.
3.1 Accurate temperature control
Look for settings for milk and formula. A digital display helps. A good warmer keeps milk near body temperature. This answers which baby bottle warmer is best for safe feeds.
3.2 Auto shut-off
Auto shut-off saves energy and prevents overheating. It is a key safety feature. It also reduces the chance of spills or burns.
3.3 Fast warm times
Fast warmers are helpful at night. But speed should not sacrifice safety. Check for models that reheat evenly. Speed helps answer “which baby bottle warmer is best” for busy parents.
3.4 Bottle compatibility
Check size and shape. Some warmers come with inserts for breast milk bags. Some fit wide-neck bottles only. Choose a model that fits your bottles.
3.5 Ease of cleaning
Look for simple designs that you can rinse or wipe. Descale-able units are best with hard water. A complex unit can hide mold. Cleaning ease often decides which baby bottle warmer is best for hygiene.
3.6 Extra features
Some warmers also steam-clean pacifiers. Some act as bottle sterilizers or night lights. Decide if these extras matter. Extras can raise the price but add value for some parents.
Step 4: Compare top models in 2026
Brands update yearly. Here are the types you might see and what they do well. This list helps you answer which baby bottle warmer is best based on real-world needs.
4.1 Fast steam models
Use when speed is the top need. Good for quick night feeds. They warm in under five minutes. But always swirl the bottle to mix hot spots. These models are often compact and simple.
4.2 Gentle water bath models
Use for breast milk or long warming. They warm evenly. They are slower. They are gentle on nutrients. Choose these if you pump and store milk a lot.
4.3 Multi-use warmers
These warm bottles and sterilize parts. They can be bulkier. They fit families who want one device for many tasks. They often cost more but save space.
4.4 Portable warmers and real-life use
Good for trips and daycare. They keep milk warm without outlet power. They are slower. Use them when plug-in options are not available. They are light and easy to pack.
Step 5: How to test a warmer before buying
Try the warmer if you can. Test at the store or read user videos. Follow simple checks to make sure it fits your needs.
5.1 Fit test
Place your bottle in the unit. Try different bottle brands. Make sure it sits steady. If the bottle wobbles, it can tip in use.
5.2 Warm-up test
Time how long it takes to warm from fridge temp to body temp. A good warmer gives consistent times. If a model is too slow, it might not suit night feeds.
5.3 Noise and light test
Check sound levels. A loud beep can wake your baby. Look for soft lights. Loud or bright signals can disturb sleep.
5.4 Cleaning test
Open all parts. See how easy they are to remove and clean. Small crevices can trap milk. If it looks hard to clean, pick another model.
Step 6: Step-by-step setup and use
Here is a simple plan to start using your warmer safely and smoothly.
6.1 Unpack and read the manual
Unpack and keep the box for returns. Read the quick start guide. Manuals have safety tips you should not skip. They also show how to descale and maintain the unit.
6.2 First clean
Wash all removable parts with warm, soapy water. Rinse well. Dry before reassembly. Some parts may be dishwasher safe—check the manual.
6.3 Initial test run
Run the warmer with plain water only. This flushes out factory dust. It also shows how the unit fills and drains. Do not heat milk on the first run.
6.4 Warm a bottle
Follow these steps when you warm milk or formula:
- Fill the warmer per the manual. Use the correct water level.
- Place the bottle or bag in the warmer.
- Set the desired temperature or time.
- When warming ends, swirl the bottle. Then test the milk on your wrist.
- Never microwave to finish warming. Use the warmer or let it sit.
Practical tips and examples
Small habits make life easier. These tips come from parents and nurses. They help you use any warmer well.
Tip 1: Make a night routine
Keep a bottle warmer on a bedside table or in a night drawer. Pre-fill water the night before. This saves time for late feeds.
Tip 2: Label bottles
Label expressed milk with time and date. Rotate older milk first. This keeps your stash fresh and safe.
Tip 3: Use a small thermometer
Keep a pocket thermometer in the feeding kit. It tells you exact milk temp. Aim for 98–100°F (36–38°C).
Tip 4: Alternate warmers for travel
Have a portable warmer in your diaper bag. Keep a plug-in model at home. This gives you best speed and flexibility. It also answers “which baby bottle warmer is best” for home and travel.
Tip 5: Swap the water weekly
Empty and refill the water chamber weekly. This prevents mineral build-up. Descale per the manual if you see deposits.
Troubleshooting common problems
Even good warmers can have small issues. Here are fixes that work for most models.
Problem 1: Warmer is slow
Check the power source. Make sure water level is correct. Descale if mineral build-up blocks heat. If it is still slow, try another brand or model. Slow warming can cost feed time, so test before you rely on it.
Problem 2: Milk is too hot
Always swirl and test on your wrist. If milk overheats, reduce the time or lower the temperature setting. Some warmers heat unevenly. Use short cycles and test between cycles.
Problem 3: Unit leaks
Check seals and assembly. Tighten loose parts. If seals are damaged, contact support. Do not use a leaking warmer. It creates electrical hazards.
Problem 4: Strange odors
Empty the water. Clean removable parts. Run a vinegar and water cycle if the manual allows. Rinse thoroughly. Persistent odors may mean mold; replace parts or the unit.
Problem 5: Warmer won’t turn on
Check the plug and outlet. Try another outlet. If a fuse or surge protector is in use, bypass it. If it still fails, reach out to the maker for repair or replacement.
Cleaning and maintenance
Good care keeps your warmer safe and long-lasting. Follow these steps weekly or as the manual suggests.
Cleaning steps
- Unplug the unit and cool it before cleaning.
- Empty water and wipe the inside with a soft cloth.
- Soak removable parts in warm, soapy water.
- Use a soft brush for tight spots.
- Descale using white vinegar and water if the manual allows.
- Rinse and dry fully before use.
Storage tips
Store the unit in a dry, cool place. Keep all cords tidy. If you will not use it for months, clean and dry it before storing.
Which baby bottle warmer is best: final checklist
Use this quick checklist before buying. It helps you pick the right model fast.
- Fits your bottle types and bags.
- Has temp control and auto shut-off.
- Is easy to clean and descale.
- Is fast enough for your night routine.
- Has a good warranty and support.
Conclusion
Choosing which baby bottle warmer is best starts with your needs. Pick by feeding style, bottle type, and travel habits. Test fit and warm times when you can. Look for safety and easy cleaning. Small features can save time and stress in the long run.
There is no one perfect warmer for every family. The best warmer is the one that fits your routine, keeps milk safe, and is simple to use. Use these steps to find that model. Then relax. Warm feeds are quick and calm with the right warmer.
🎥 Related Video: How It Works: Philips Avent Baby Bottle Warmer | Babylist
📺 Babylist
The Philips Avent Fast Baby Bottle Warmer features smart temperature control that prevents milk and food from overheating, while …
