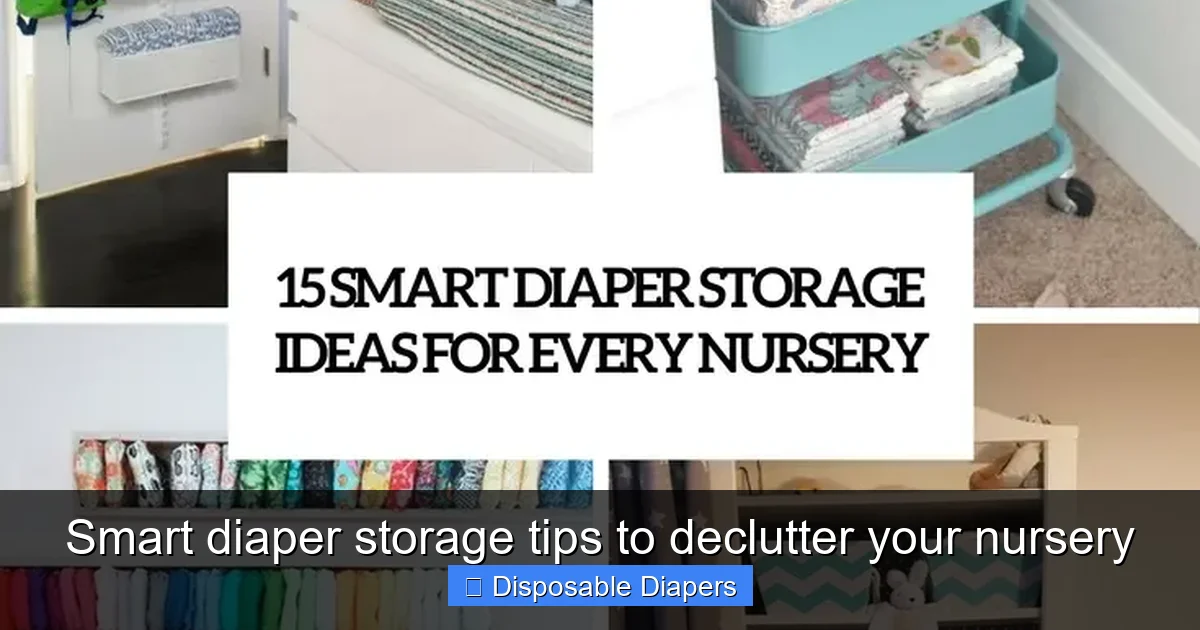
Smart diaper storage makes everyday changes faster and less stressful. This guide shows you how to organize disposable diapers, wipes, creams, and backups so everything is easy to reach, easy to see, and simple to restock. You’ll learn step-by-step diaper storage tips for small nurseries, shared rooms, and on-the-go setups, plus clever hacks to keep your changing area clean, safe, and clutter-free.
Key Takeaways
- Point 1: Plan your diaper storage around where you change your baby most often to keep everything within arm’s reach.
- Point 2: Use a mix of open bins, drawer dividers, and baskets so diapers and wipes stay visible and easy to grab.
- Point 3: Separate everyday diaper supplies from backups and bulk packs to avoid clutter at the changing station.
- Point 4: Label shelves, bins, and drawers so anyone helping with baby can find and put away diapering items quickly.
- Point 5: Use vertical space with wall shelves, carts, and over-the-door organizers, especially in small nurseries.
- Point 6: Keep a simple restock routine so you never run out of disposable diapers at the worst moment.
- Point 7: Regular mini-declutters keep your diaper storage clean, safe, and ready for each new diaper size.
Introduction: Why Smart Diaper Storage Matters
New parents quickly learn one thing: diapers are everywhere. Boxes, loose packs, wipes, creams, and tiny trash bags can take over your nursery in days. Smart diaper storage tips help you control the chaos.
Good diaper storage is not about being perfect. It is about making daily life easier. When your disposable diapers and wipes are easy to reach, diaper changes are faster and smoother. You waste less time searching for things. You also waste less money because you can see what you have before you buy more.
In this guide, you will learn simple, step-by-step diaper storage tips to:
- Set up a clear, safe changing area
- Organize disposable diapers for daily use and long-term storage
- Use shelves, drawers, and carts to save space
- Keep backup diapers neat and easy to find
- Store diapering gear in small nurseries and shared rooms
- Maintain your system with quick routines
All of these diaper storage tips are easy, low-stress, and work even if you are tired and short on time—which, as a parent, you probably are.
Step 1: Decide Where You Will Change Most Diapers
Before you buy bins or baskets, pause. The best diaper storage tips start with one question: where do you actually change your baby most of the time?
Visual guide about Smart diaper storage tips to declutter your nursery
Image source: i.shelterness.com
Identify Your Main Changing Zones
Most families have one or two main diaper-changing spots:
- Nursery changing table or dresser top
- Living room couch or floor mat
- Parents’ bedroom (for night changes)
Watch your routine for a day or two. You may find that you almost never walk to the nursery at 2 a.m. You might change your baby in the living room all day. Your diaper storage should match real life, not a picture in a catalog.
Create a “Primary” and “Secondary” Setup
Once you know your zones, plan for two types of diaper storage:
- Primary station: Your main changing spot. This needs full supplies and the best organization.
- Secondary station: A smaller setup in another room, often the living room or your bedroom.
These diaper storage tips work best when each station has what you need for at least one full day of changes. No more running back and forth with a half-dressed baby.
Step 2: Gather and Sort All Your Diaper Supplies
Before you can organize, you need to see what you actually have. This is one of the most important diaper storage tips, and many parents skip it.
Visual guide about Smart diaper storage tips to declutter your nursery
Image source: i.shelterness.com
Pull Everything Out
Take all diapering items from the nursery, bathroom, closets, and even the car. Place them on a bed or large table. Include:
- Disposable diapers (all sizes)
- Wipes (packs, tubs, refills)
- Diaper creams and ointments
- Diaper liners (if you use them)
- Changing pads and covers
- Diaper pail bags or trash bags
- Portable changing kits or diaper caddies
Sort by Type and Use
Now sort your items into simple groups:
- Daily use items (diapers, wipes, cream, trash bags)
- Backups (extra packs of diapers and wipes)
- Special items (rash cream, medicine, travel packs)
These basic groups will guide your diaper storage plan. Many diaper storage tips fail because daily items get mixed with long-term backups. When you keep them separate, your changing area stays neat.
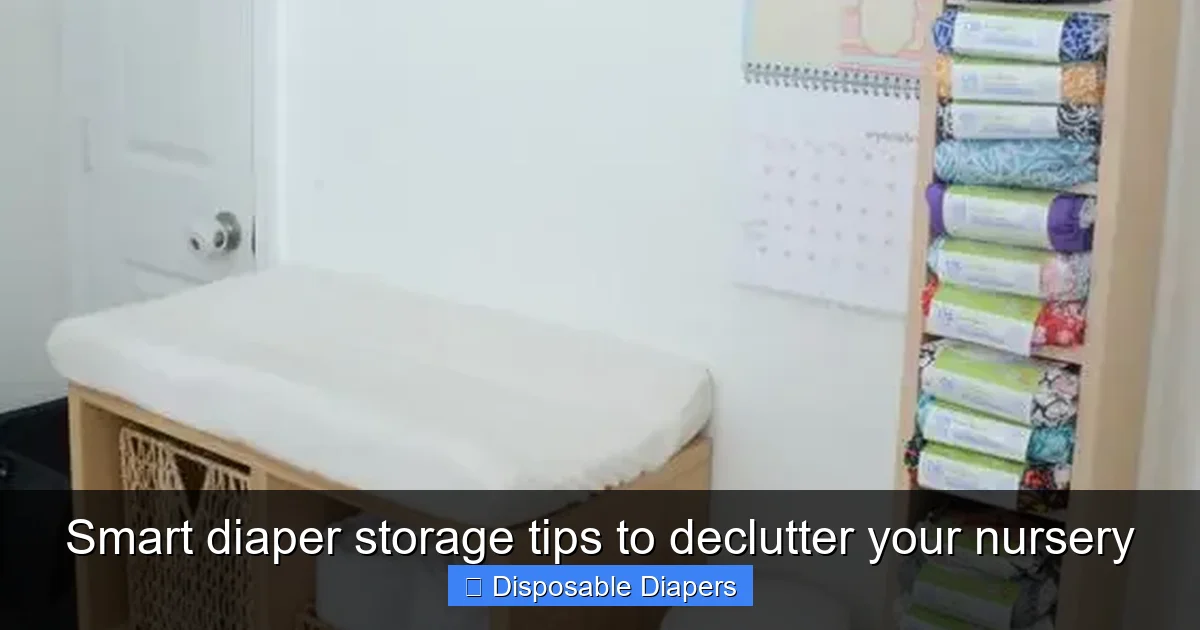
Step 3: Set Up an Efficient Primary Changing Station
Your primary station is the heart of your diaper storage system. It should be simple, safe, and easy to restock. These diaper storage tips will help you design a setup that works for sleepy 3 a.m. changes and busy mornings.
Visual guide about Smart diaper storage tips to declutter your nursery
Image source: i.shelterness.com
Choose the Right Surface
You can use:
- A dedicated changing table
- The top of a sturdy dresser with a changing pad
- A low, stable table or bench with a pad
Whatever you choose, make sure it is stable and has a non-slip changing pad. Safety comes before storage.
Keep Essentials Within Arm’s Reach
One of the most practical diaper storage tips is this: never turn your back on the baby. So place everything within reach of one arm:
- Disposable diapers: enough for at least one full day (about 10–15 for a newborn)
- Wipes: an open pack or dispenser
- Diaper cream: your main one, not the whole collection
- Trash bags: small roll or a few folded bags
- Spare outfit: one simple backup onesie or bodysuit
Store these items in a shallow basket, caddy, or open drawer right next to the changing pad.
Use Open Containers for Speed
Closed boxes look tidy but slow you down. For daily diaper storage, open is better. Try:
- Shallow baskets on the changing table shelf
- Drawer organizers inside a dresser
- Countertop caddies with sections for diapers, wipes, and creams
Open storage is one of the simplest diaper storage tips, yet it makes a big difference. You can see what you have at a glance and grab it with one hand.
Store Diapers Vertically, Not in Stacks
Instead of piling diapers in tall stacks, try standing them up like files in a drawer. This works well in bins and baskets.
- You can see each diaper without digging.
- It is easier to grab one at a time.
- You can tell when it is time to restock.
Vertical storage is one of those diaper storage tips that seems small but saves time every day.
Step 4: Organize Diapers by Size and Stage
Babies grow fast, and diaper sizes change often. Without a plan, you may end up with open packs of three sizes mixed together. This step will help you avoid that mess.
Separate Current Size from Future Sizes
Keep only the current diaper size at your primary station. Store the next sizes elsewhere. This is one of the most useful diaper storage tips for cutting clutter.
- Current size: At the changing table and in your main diaper caddy.
- Next size up: In a closet bin or under-crib storage box.
- Too small or “almost too small” sizes: In a bag or box to donate, sell, or use up during the day.
Use Clear Bins for Backup Sizes
Clear bins are your friend for backup diaper storage. Label each bin by size:
- “Size 1 – Open Packs”
- “Size 2 – Unopened”
- “Size 3 – Next Size”
These simple labels keep your diaper storage system clear for anyone who helps you, like grandparents or babysitters.
Rotate Stock Like a Mini Store
Think of your home diaper storage like a tiny store:
- Move older packs to the front.
- Place new packs behind them.
- Use open packs before opening a new one.
This “first in, first out” idea is one of the smartest diaper storage tips. It helps you use diapers before your baby outgrows them.
Step 5: Make the Most of Drawers, Shelves, and Vertical Space
Many nurseries are small. The good news: you can still fit a lot of diaper storage into a tiny room if you use space wisely.
Use Drawer Dividers for Diapers and Wipes
If your changing station is on top of a dresser, use the top drawer for diaper storage. Add dividers or small bins:
- Section 1: Diapers (stored vertically)
- Section 2: Wipes (one open pack and maybe a backup)
- Section 3: Creams and small items
- Section 4: Trash bags and hand sanitizer
Drawer dividers keep items from sliding around. This is one of those diaper storage tips that keeps your system neat without extra effort.
Add Wall Shelves Above the Changing Area
Use the wall above the changing table for extra diaper storage, but keep safety in mind. Install sturdy shelves high enough that your baby cannot reach them.
- Store extra wipes and backup diapers on the top shelf.
- Use a middle shelf for extra creams, lotions, and burp cloths.
- Keep the area directly above the baby clear of heavy objects.
Vertical space is key in small nurseries, and these wall-based diaper storage tips help you keep the floor clear.
Try an Over-the-Door Organizer
An over-the-door shoe organizer can become a powerful diaper storage tool. Use the pockets for:
- Disposable diapers by size
- Wipes packs
- Travel-size creams
- Extra pacifiers and small items
Label each pocket so you can find things fast. This is one of the most space-saving diaper storage tips for tiny apartments and shared rooms.
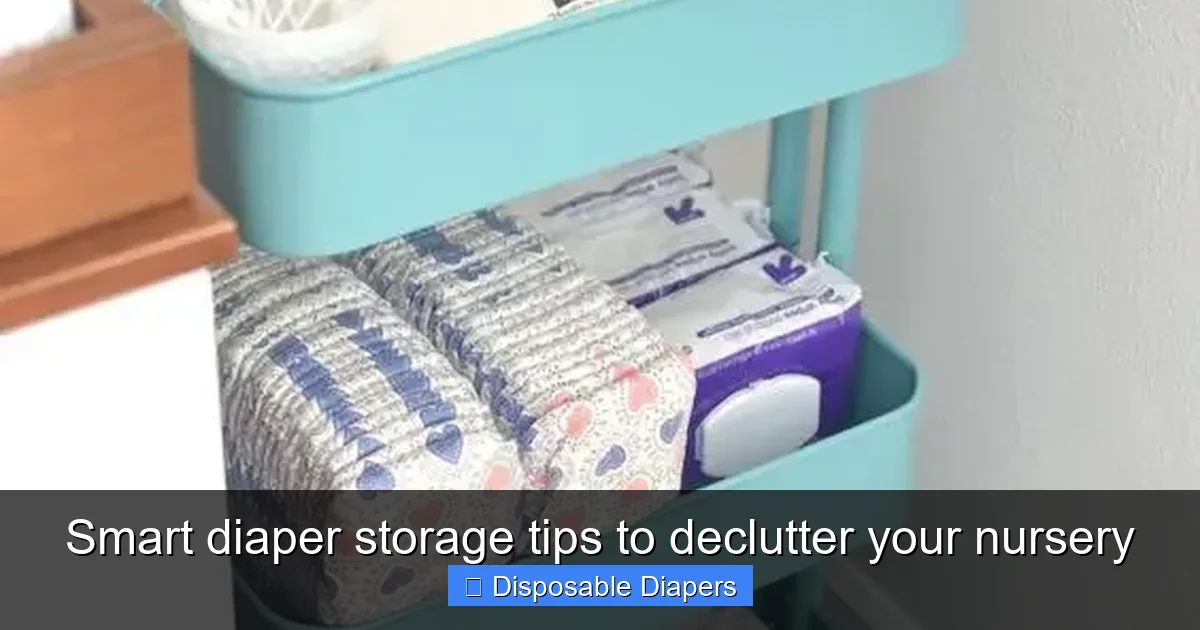
Step 6: Set Up a Portable Diaper Caddy or Cart
Even with a great changing table, you will not always be in the nursery. A portable setup keeps diaper changes easy in any room.
Choose Your Mobile Storage Style
You have two main options:
- Diaper caddy: A handled tote or basket you can carry from room to room.
- Rolling cart: A small wheeled cart with shelves, great for small homes.
Both options support smart diaper storage tips by keeping your must-haves close by.
What to Keep in Your Caddy or Cart
Pack your portable diaper storage with just the essentials:
- 10–15 disposable diapers
- 1–2 packs of wipes
- 1 small tube of diaper cream
- Disposable changing pads or a foldable pad
- A few plastic bags for dirty diapers
- 1 spare onesie or bodysuit
Keep this caddy near your main living space. Many parents find this one of the most life-changing diaper storage tips, especially in multi-level homes.
Use Small Pouches Inside the Caddy
To avoid a jumbled mess, use small pouches or zip bags inside your caddy:
- One for creams and small items
- One for trash bags
- One for emergency clothes
These mini-organizers keep your diaper storage neat, even when you grab things in a rush.
Step 7: Store Bulk Diapers and Wipes Without Clutter
Buying in bulk saves money, but giant boxes can swallow your nursery. These diaper storage tips will help you enjoy the savings without the mess.
Pick a Bulk Storage Zone Outside the Nursery
If possible, keep bulk diaper storage out of the main baby room. Good spots include:
- A hallway or bedroom closet
- Under-bed storage in your room
- A linen closet shelf
- A labeled spot in the garage or basement (if dry and climate-controlled)
Move only one open pack of disposable diapers at a time into the nursery. This keeps the space calm and uncluttered.
Use Large Clear Tubs for Bulk Items
Place bulk diapers and wipes in large clear tubs with lids. Label them:
- “Size 2 Diapers – Bulk”
- “Size 3 Diapers – Bulk”
- “Wipes – Bulk Refills”
These diaper storage tips make it easy to see when you are running low. They also protect supplies from dust and moisture.
Break Down Boxes Before Storing
Instead of stacking huge cardboard boxes, open them and place the inner packs into bins. This:
- Saves space
- Makes items easier to carry
- Keeps your diaper storage looking neat
Step 8: Keep Diaper Storage Clean and Safe
Diaper storage is about more than neatness. It is also about hygiene and safety for your baby.
Separate Clean Items from Dirty Items
Never store dirty diapers near clean supplies. Keep your diaper pail or trash can:
- On the opposite side of the changing table from your clean diaper storage
- Closed with a lid
- Emptied often to reduce smells
This is one of the most important diaper storage tips for keeping germs away from fresh diapers and wipes.
Wipe Down Surfaces Regularly
Once a week, do a quick clean of your diaper storage area:
- Wipe shelves, bins, and caddies with a gentle cleaner
- Wash changing pad covers and any fabric baskets
- Check for leaks or spills from creams or wipes
A few minutes of cleaning keeps your diaper storage safe and pleasant to use.
Keep Medicines and Hazardous Items Out of Reach
It is tempting to store all baby items together, but some things should stay away from your diaper storage area:
- Medicines
- Cleaning products
- Adult toiletries
Store these high up or in locked cabinets. Safety should guide all your diaper storage tips and choices.
Step 9: Create a Simple Restock and Review Routine
Even the best diaper storage system fails if you forget to restock. A tiny routine can prevent last-minute diaper runs.
Daily Quick Check
Once a day, usually at night, do a 30-second check:
- Count how many disposable diapers are at the changing station.
- Check if the wipes pack is almost empty.
- Look at your portable caddy and refill if needed.
These daily diaper storage tips keep you ready for the next day without stress.
Weekly Restock from Bulk Storage
Once a week, refill your nursery from your bulk diaper storage:
- Move one or two packs of diapers into the nursery.
- Refill wipes containers from bulk refills.
- Top up creams or add backups if needed.
You can tie this to another weekly habit, like laundry day, so it is easy to remember.
Monthly Review of Sizes and Supplies
Once a month, review your diaper storage:
- Check if your baby is close to the next diaper size.
- Move “almost too small” diapers to the front to use during the day.
- Donate or give away any sizes you know you will not use.
These monthly diaper storage tips help you avoid waste and keep your system current as your baby grows.
Troubleshooting Common Diaper Storage Problems
Even with a solid plan, you might run into some common issues. Here are simple fixes using the diaper storage tips from this guide.
Problem 1: Diapers Keep Toppling Over
If diapers fall over in bins or drawers:
- Use smaller bins so diapers fit snugly.
- Store diapers vertically instead of in tall stacks.
- Add simple cardboard dividers inside the bin.
Problem 2: You Never Know When You Are Running Low
If you keep getting surprised by empty packs:
- Pick a minimum number for your main station (for example, 10 diapers).
- When you hit that number, make it your automatic restock signal.
- Place a small sticky note on the shelf as a reminder line.
Problem 3: Other Caregivers Cannot Find Anything
If partners, grandparents, or babysitters get confused:
- Add clear labels to bins, drawers, and shelves.
- Use simple words like “Diapers,” “Wipes,” “Cream,” and “Trash Bags.”
- Give a quick 30-second tour the first time they change the baby.
Problem 4: The Nursery Feels Crowded and Cluttered
If the room feels too full:
- Move bulk diaper storage out of the nursery.
- Keep only one open pack of diapers at the changing station.
- Use more vertical storage like wall shelves and over-the-door organizers.
Conclusion: Build a Diaper Storage System That Grows with Your Baby
Smart diaper storage is not about buying fancy containers. It is about creating a simple system that fits your real life. When disposable diapers, wipes, and creams all have clear homes, your nursery feels calmer and diaper changes go faster.
Start small. Choose your main changing spot, set up one tidy station, and add a portable caddy. Then use the diaper storage tips in this guide to expand into drawers, shelves, and bulk storage. Review your setup as your baby grows and diaper sizes change.
A few thoughtful diaper storage tips will save you time, space, and stress every single day. And that means more energy for what matters most: time with your baby.
🎥 Related Video: Organise my nursery dresser🤍 #organisation #nurserydrawer
📺 Home of Char