Wrapping a baby carrier can seem daunting, but it’s easier than you think! This guide will walk you through each step to ensure comfort and safety for both you and your little one. You’ll learn how to master the art of wrapping a baby carrier, making outings with your baby a breeze.
Key Takeaways
- Comfort is Key: Ensure both you and your baby are comfortable by choosing the right fabric and fit.
- Safety First: Always check for proper positioning to support your baby’s head, neck, and spine.
- Practice Makes Perfect: Take your time to practice the wrapping technique before going out.
- Versatile Styles: Explore different wrapping styles to find what works best for you and your baby.
- Adjust as Needed: Don’t hesitate to adjust the wrap if it feels uncomfortable during use.
- Watch Tutorials: Utilize online tutorials for visual guidance and tips from experienced parents.
- Enjoy Bonding Time: Wrapping your baby carrier can enhance your connection with your little one through closeness.
Easy Guide on How to Wrap Baby Carrier for Comfort and Safety
Wrapping a baby carrier can be a wonderful way to keep your little one close while allowing you to have your hands free. Whether you are running errands, going for a walk, or just enjoying some quality time, a properly wrapped baby carrier offers comfort and safety for you and your baby. In this guide, you’ll learn everything you need to know about wrapping a baby carrier step by step.
What You Will Need
Before we dive into the wrapping technique, let’s gather some essentials:
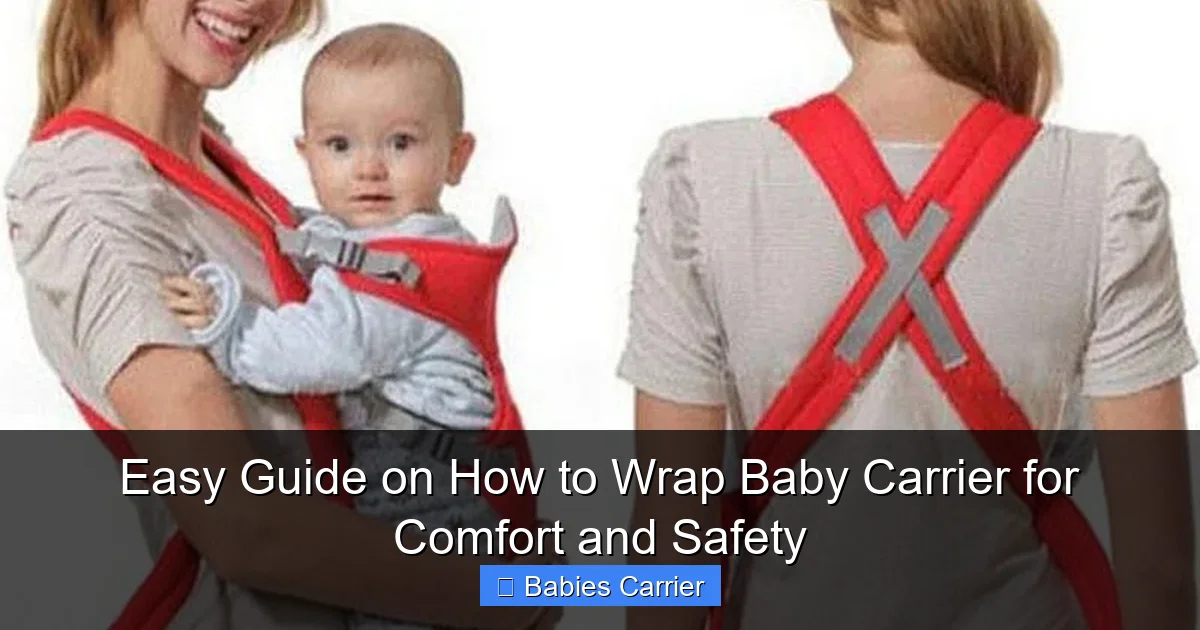
Visual guide about Easy Guide on How to Wrap Baby Carrier for Comfort and Safety
Image source: shoppersbd.com
- A soft, breathable fabric wrap (cotton or bamboo is ideal)
- A comfortable space to practice
- Your baby (preferably in a calm mood)
Step 1: Prepare Your Carrier
The first step to wrapping your baby carrier is to prepare the fabric. Here’s how:
Choose the Right Fabric
Select a wrap that is soft, breathable, and strong enough to hold your baby’s weight. Fabrics like cotton or stretchy blends are popular choices.
Measure the Length
Most baby wraps are around 4.5 to 5.5 meters in length. Make sure to choose a length that suits your height and wrapping style—longer wraps allow for more complex ties.
Step 2: Find Your Center
Next, you’ll want to find the center of your wrap:
Locate the Midpoint
Hold the wrap and find the midpoint. You can do this by folding it in half. This midpoint will be key for positioning your baby correctly.
Step 3: Positioning Your Baby
Now it’s time to position your baby in the wrap:
Hold Your Baby Securely
While seated or standing, hold your baby close to your body. Ensure they are facing you with their legs in a comfortable position. You can use a pillow or cushion to support your baby if needed.
Check Baby’s Position
Your baby’s knees should be higher than their bottom, creating an “M” shape with their legs. This position is important for proper hip development.
Step 4: Wrapping Your Baby
Now comes the fun part—wrapping! Follow these steps:
Cross the Fabric
Take the fabric on either side and cross them over your baby’s back. This creates a snug hold. Make sure the wrap is tight enough to support your baby, but not so tight that it restricts movement.
Bring the Wrap Under Your Baby
After crossing the fabric at your baby’s back, bring the ends under their bottom and pull them back up over their shoulders. You can tuck the fabric securely under their legs to ensure they’re supported.
Tie a Knot
Finally, tie a secure knot behind your back. You can also tie it off to the side for extra comfort. Make sure the knot is tight but easy for you to loosen if necessary.
Step 5: Adjust for Comfort
Now that your baby is wrapped, it’s time to adjust:
Check the Fit
Ensure the wrap is snug but not too tight. You should be able to fit two fingers between the fabric and your baby. Adjust the fabric if needed to ensure a comfortable fit for both of you.
Shift and Reposition
If your baby seems uncomfortable, don’t hesitate to shift their position or loosen the wrap slightly. Always prioritize your baby’s comfort and safety.
Practical Tips and Examples
Here are some practical tips to enhance your wrapping experience:
- Practice in Front of a Mirror: This can help you get the hang of the wrapping technique and see how it looks.
- Watch Online Tutorials: Video demonstrations can provide valuable visual cues.
- Try Different Styles: Once you’re comfortable, experiment with different wraps like the front wrap cross carry, hip carry, or back carry.
- Go for Short Outings First: Start with short trips to get used to the wrap and your baby’s reactions.
Troubleshooting Common Issues
Even with the best intentions, issues may arise. Here are some troubleshooting tips:
Baby is Fussy
If your baby is fussy in the wrap, check their positioning and make sure they are not too tight. Sometimes, a gentle rocking motion can help soothe them.
Wrap Feels Loose
If the wrap feels loose, don’t hesitate to adjust the fabric. You can tighten the wrap gently while supporting your baby’s weight.
Conclusion
Wrapping a baby carrier is a skill that can enhance your parenting experience, allowing for closeness and bonding. With practice, you’ll be able to wrap your baby securely and comfortably, making outings more enjoyable. Remember, take your time, be patient, and enjoy the journey of learning this beautiful practice!
🎥 Related Video: Your easy baby wrap guide! 🤩 #keababies #shorts #wrapcarrier
📺 KeaBabies
Here’s our easy baby wrap carrier tutorial! In this step-by-step guide, we’ll show you how to comfortably and securely wear your …