Discover what baby bottles are best with this friendly guide. You will learn how to pick the right bottle type, nipple shape, material, and size. Simple steps help you test bottles, care for them, and solve common feeding issues.
Key Takeaways
- Point 1: Bottle type matters — wide-neck, standard, angled, and anti-colic designs suit different babies.
- Point 2: Nipple flow and shape affect latch and comfort. Match flow to age and feeding style.
- Point 3: Material choice (glass, BPA-free plastic, silicone) balances weight, durability, and safety.
- Point 4: Start with a few single bottles before buying sets. Test what your baby prefers.
- Point 5: Clean and replace parts on schedule to avoid leaks and hygiene issues.
- Point 6: Anti-colic vents help some babies, but no single bottle solves every feeding problem.
Introduction
This clear guide shows you what baby bottles are best for new parents. You will learn how to compare types, pick nipple shapes, and choose materials. You will get step-by-step tips. You will find care and troubleshooting advice. The goal is to make feeding easier.
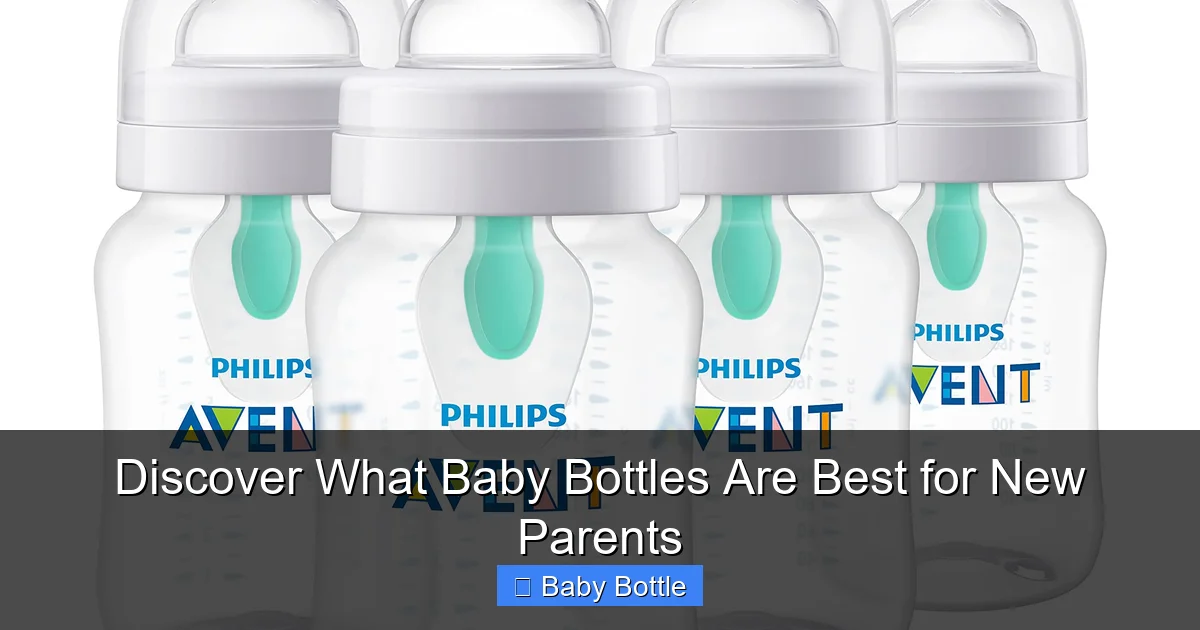
Step 1: Understand Bottle Types
First, learn the main bottle types. Each fits a feeding need. Try a few kinds. See which your baby likes.
Visual guide about Discover What Baby Bottles Are Best for New Parents
Image source: m.media-amazon.com
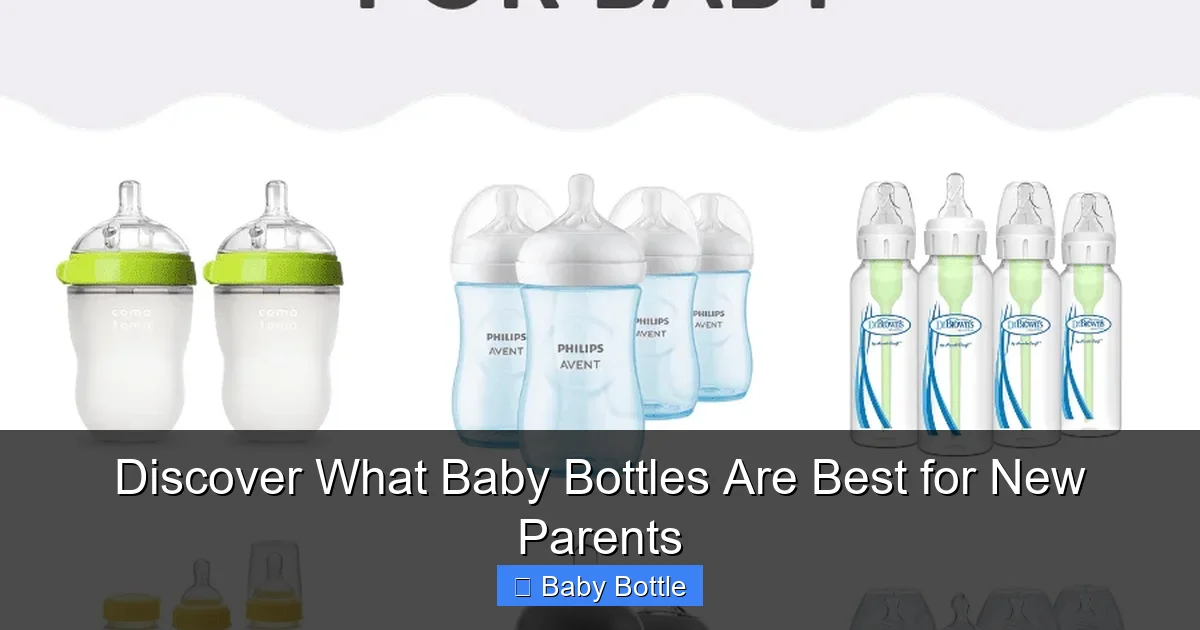
Standard bottles
Standard bottles are straight. They are simple. They fit many pumps and parts. They work well for a variety of nipples.
Wide-neck bottles
Wide-neck bottles look like a breast. The wide rim makes it easy to mix formula. Many babies accept these easily. They can help if your baby is bottle-resistant.
Angled and anti-colic bottles
Angled bottles reduce air swallowing. Anti-colic bottles use vents or valves. They aim to lower gas and spit-up. Some babies benefit a lot. Others see no change. These bottles often cost more.
Disposable and premixed options
There are disposable liners and on-the-go prefilled systems. They are useful for travel. They are not needed every day. But they can be handy for busy parents.
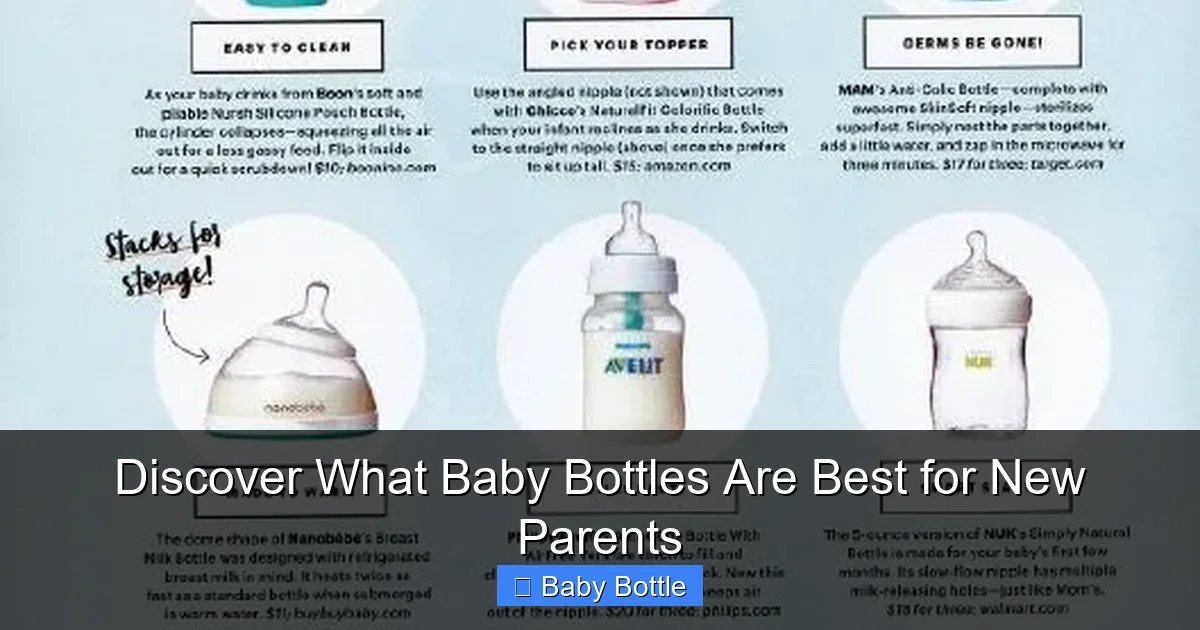
Step 2: Choose the Right Nipple Flow and Shape
The nipple affects feeding more than the bottle body. Size and shape matter for latch and milk flow.
Visual guide about Discover What Baby Bottles Are Best for New Parents
Image source: babyfoode.com
Flow stages
Nipples come in stages: newborn, slow, medium, and fast. Start with newborn or slow. Move to the next stage as your baby grows. Faster flow suits older babies. A wrong flow can cause choking or long feeds.
Shape: Round, wide, and orthodontic
Round nipples mimic a bottle. Wide nipples mimic a breast. Orthodontic nipples aim to support jaw growth. Some babies prefer one shape. Try a few shapes early. Watch how your baby latches.
Material and softness
Nipples are usually silicone or latex. Silicone keeps shape longer. Latex is softer but wears out faster. If your baby has latex sensitivity, choose silicone.
Step 3: Pick the Best Material
Bottles come in glass, plastic, and silicone. Each has pros and cons. Pick what fits your life and budget.
Visual guide about Discover What Baby Bottles Are Best for New Parents
Image source: i.pinimg.com
Glass bottles
Glass is heavy but durable. It does not stain or hold smells. Glass resists heat and scratches. It is easy to clean. Drop protection or silicone sleeves help avoid breakage.
Plastic bottles (BPA-free)
Plastic is light and cheap. Buy BPA-free plastic only. Plastic can get cloudy or scratched over time. Replace if it retains odors or becomes cracked.
Silicone bottles
Silicone bottles are flexible and lightweight. They are less likely to break. They can be squeezed easily for paced feeding. They often cost more than plastic.
Step 4: Size and Capacity
Choose bottle size for age and feed volume. Small bottles fit newborn feeds. Bigger bottles suit older babies.
Newborn sizes (2–4 oz)
Newborns eat little at first. Use 2–4 oz bottles to avoid waste. Smaller bottles are easier to warm and mix.
Four to eight ounce bottles
At 1–3 months, most babies use 4–6 oz bottles. By 4–6 months, many use 6–8 oz bottles. Buy a mix if you are unsure.
Travel and daytime kits
Keep a few small bottles for travel. Use larger bottles at home to reduce refills. A mix makes life easier.
Step 5: Consider Feeding Style and Anti-Colic Features
Your feeding style affects the best bottle choice. Think about breastfeeding, pumping, or direct bottle feeding.
Breastfeeding and bottle transition
If you plan to breastfeed and bottle feed, choose a bottle that mimics the breast. Wide-neck and slow-flow nipples can ease the transition. Test early, but wait until breastfeeding is well established if possible.
Pumping and bottle compatibility
If you pump often, pick bottles that fit your pump. This saves time. Some pump brands have direct-connect bottles. That cuts transfer steps and spillage.
Anti-colic vents and systems
Vents let air escape away from the nipple. Some systems use valves or dual membranes. They may reduce gas. No vent system is perfect. Try one and watch your baby’s response.
Step 6: Test and Buy Smart
Buy a few single bottles to start. Test them for a few days. If your baby prefers one, buy a set. This saves money and waste.
Try before you commit
Buy one bottle of two types. See which one your baby accepts. Babies can be picky. A small test prevents large returns.
Check for parts and spares
Look for bottles with easy-to-buy replacement parts. Nipples and valves wear out. You will want spares on hand.
Read reviews and ask other parents
Real parent reviews help. Look for patterns, not single strong opinions. Local friends, online groups, and lactation consultants offer good tips.
Step 7: Care, Cleaning and Safety
Good cleaning keeps bottles safe and lasting. Follow simple steps to keep bottles clean and leak-free.
Sterilizing for newborns
Sterilize bottles if your baby is under three months, premature, or has a weak immune system. Boiling, steam sterilizers, and microwave sterilizers work well. Follow the maker’s instructions.
Dishwasher use
Most bottles are dishwasher safe. Place small parts in a basket. Use top rack for plastic. Let parts air-dry completely.
Regular inspection and replacement
Check nipples for cracks or thinning. Replace nipples every 2–3 months or sooner if damaged. Replace plastic bottles if scratched deeply or cloudy.
Troubleshooting Common Issues
Here are quick fixes to common bottle problems. Try the simple steps below before switching brands.
Leaking at the collar or nipple
Make sure parts fit tightly. Align the nipple correctly. Do not overtighten; this can distort seals. Replace cracked or warped collars and nipples.
Baby swallows air or seems gassy
Try an angled or vented bottle. Keep the nipple full of milk while feeding. Hold baby at a slight incline. Burp often during and after feeds.
Refusal to take bottle
Try a different nipple shape or flow. Warm the bottle to body temperature. Have someone else offer the bottle if the baby prefers the breast.
Nipple collapse
Check for a vent system that vents correctly. Replace nipples that have a hole or weak spot. Try a firmer nipple if collapse keeps happening.
Milk warms unevenly or is too hot
Use a bottle warmer or warm water bath. Shake and test milk temperature on your wrist. Avoid microwave heating; it causes hot spots.
Cloudy or scratched plastic
Replace cloudy bottles. Cloudy plastic may harbor bacteria and be harder to sanitize. Use glass or high-quality silicone if clouding bothers you.
Practical Tips and Examples
Here are real-world tips that help new parents pick and use bottles.
- Example 1 — Breastfed baby who needs occasional bottles: Start with one wide-neck slow-flow bottle. Try a breast-like nipple. Buy two or three total to rotate.
- Example 2 — Formula-fed newborn: Use 2–4 oz bottles for the first month. Choose simple bottles that are easy to clean and hold. Keep three to four bottles ready per day.
- Example 3 — Fussy baby with gas: Try an anti-colic vented bottle. Test for one week. Combine with paced bottle-feeding to slow flow.
- Example 4 — Parents who pump and go out: Use pump-compatible bottles and a travel kit with insulated bag and spare nipples.
Safety Checklist Before You Buy
- Is the bottle BPA-free?
- Does the nipple match your baby’s age and feeding style?
- Can you buy replacement parts easily?
- Is the bottle easy to clean and sterilize?
- Does the design fit your pump and warmer?
How to Save Money Without Sacrificing Quality
Buy one good bottle first. See which your baby likes. Then buy a small set. Use hand-me-downs with care. Replace parts when worn. Watch sales and membership deals. Basic, well-reviewed bottles work fine for most babies.
When to Ask for Professional Help
If feeding problems persist, ask a lactation consultant or pediatrician. If your baby is not gaining weight or has severe reflux, seek medical advice. A pro can suggest specific bottle types and feeding techniques that match your baby’s needs.
Conclusion
Finding out what baby bottles are best will take a little trial and error. Start simple. Test a couple of styles. Watch how your baby reacts. Choose a bottle that fits your feeding style and life. Keep spares and clean often. With a few smart choices, feeding can be calm and safe. Trust your instincts. Your baby will tell you what works.
🎥 Related Video: Comparing baby bottles for your newborn (Dr. Browns + NUK) #babyfeeding #babybottle #babyfeedingtips
📺 Mama Nurse Tina
