Which baby bottle sterilizer is best depends on your budget, space, and routine. This guide helps you compare types, follow simple steps, and pick a model that fits your life.
Key Takeaways
- Point 1: Different types—steam, UV, and chemical—work well. Choose based on time and convenience.
- Point 2: Size matters. Pick a sterilizer that fits your bottles and kitchen space.
- Point 3: Ease of use is key. Look for simple controls and fast cycles.
- Point 4: Safety and cleaning matter. Regular descaling and care keep sterilizers working well.
- Point 5: Price and features vary. Balance cost with what you need most.
- Point 6: Real-life testing helps. Try a model with a good return policy when you can.
Introduction
New moms ask the same practical question over and over: which baby bottle sterilizer is best for my needs? This guide answers that. You will learn the pros and cons of the main types. You will get step-by-step instructions to use them. You will find cleaning tips. You will see how to pick a model that fits your routine and budget.
Why Sterilize Bottles?
Sterilizing removes bacteria and germs. Babies have small immune systems. Clean bottles help prevent illness. Sterilizing is faster and more thorough than hand washing alone. You will learn how to pick the right sterilizer. You will also learn which features matter most.
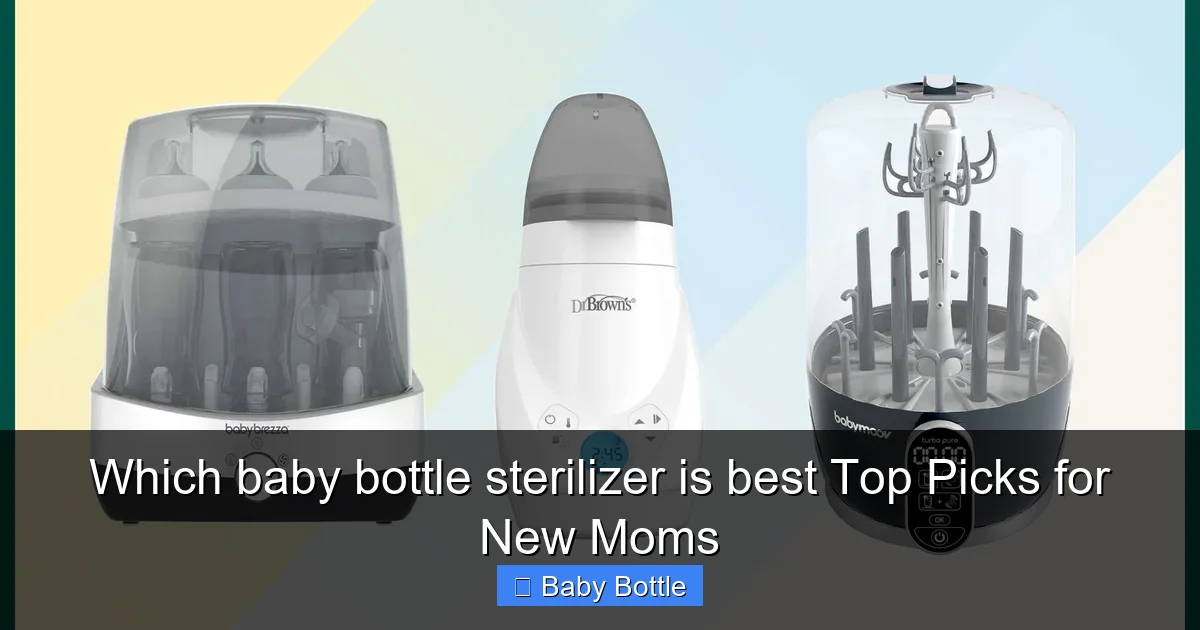
Visual guide about Which baby bottle sterilizer is best Top Picks for New Moms
Image source: parents.com
Types of Baby Bottle Sterilizers
When you ask which baby bottle sterilizer is best, start by knowing the types. Each type has pros and cons.
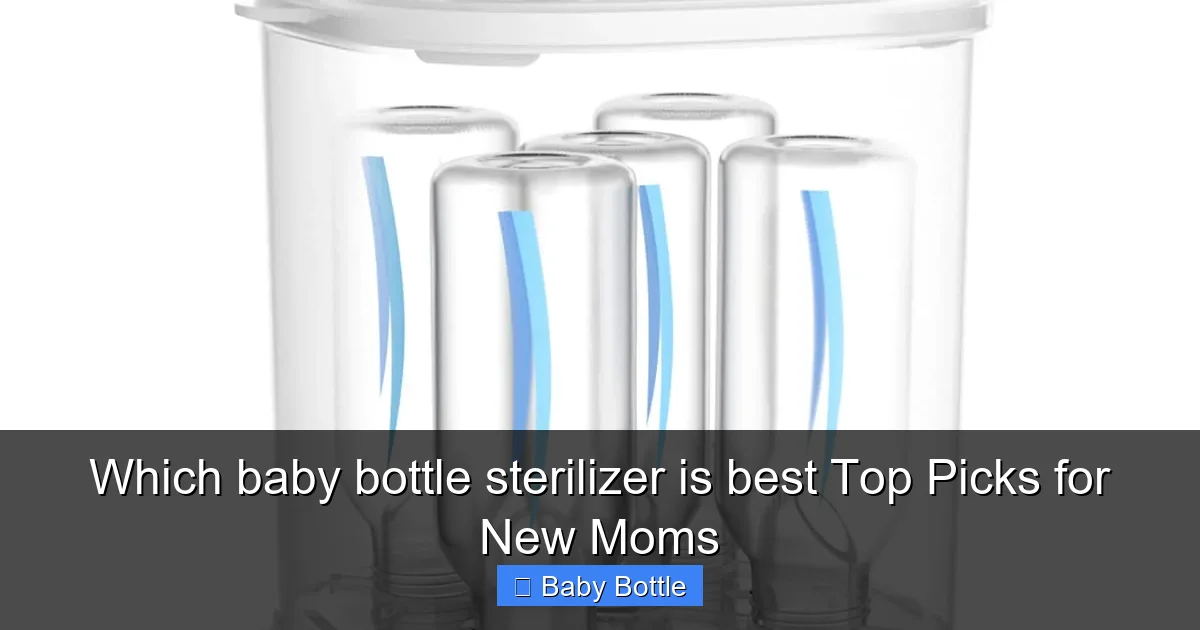
Visual guide about Which baby bottle sterilizer is best Top Picks for New Moms
Image source: tutusteaparties.com
1. Electric Steam Sterilizers
These use boiling steam. They work fast. They fit multiple bottles. They are common in many homes.
2. Microwave Steam Sterilizers
These use a microwave. They are small and cheap. They save counter space. They fit a few bottles at a time.
3. UV Sterilizers
These use ultraviolet light. No water is needed. They can kill many germs. They cost more. They are good for travel and quick use.
4. Cold Water Sterilizing (Chemical)
These use sterilizing tablets or liquids. They work in cool water. They are useful for travel. They require careful handling of chemicals.
5. Boiling on the Stove
This is a low-cost option. You boil bottles in a pot. It takes time and attention. It uses no special tools.
How to Choose: Key Factors
Answering which baby bottle sterilizer is best means comparing features. Here are the factors to check.

Visual guide about Which baby bottle sterilizer is best Top Picks for New Moms
Image source: m.media-amazon.com
Size and Capacity
Think about how many bottles you use daily. For many bottles, choose a larger electric sterilizer. For travel, choose a microwave or UV model.
Speed and Cycle Time
Some sterilizers finish in three minutes. Others take 20 minutes. If you need quick turnarounds, pick a fast model.
Ease of Use
Simple controls are better when you are tired. Automatic shutoff is a plus. Look for one-button operation and easy loading.
Cleaning and Maintenance
Descaling is needed for steam models. Check how easy it is to clean the interior. Removable trays help.
Safety Features
Auto-shutoff and cool-touch handles are good. Check for BPA-free materials. Read the manual to avoid misuse.
Price and Warranty
Prices vary widely. A higher price often means more features. A good warranty gives peace of mind.
Step-by-Step: How to Use an Electric Steam Sterilizer
Many parents ask which baby bottle sterilizer is best and often choose an electric steam model. Here is how to use one safely.
Step 1: Read the Manual
Start here. The manual has model-specific steps. It tells you water amounts and cycle times.
Step 2: Wash Bottles First
Rinse milk from bottles. Wash with warm, soapy water or in the dishwasher. Clean before sterilizing.
Step 3: Add Water
Pour the exact water amount into the base. Too much or too little water can damage the unit.
Step 4: Load Bottles and Parts
Place bottles upside down. Add teats and caps to the tray. Keep parts apart for steam access.
Step 5: Start the Cycle
Close the lid. Press the start button. The unit will heat and produce steam. Wait until it stops.
Step 6: Let Cool and Remove
Allow parts to cool. Use clean tongs or your hands if cool. Avoid steam burns.
Step-by-Step: How to Use a Microwave Steam Sterilizer
If you wonder which baby bottle sterilizer is best for a small kitchen, a microwave model may fit. Follow these steps.
Step 1: Measure Water
Follow the product directions for water. Too little may not produce enough steam.
Step 2: Place Bottles
Arrange bottles in the microwave sterilizer. Keep them upright if directed.
Step 3: Microwave on High
Set the correct time. Times vary by microwave power. Let it run fully.
Step 4: Cool Before Opening
Open the microwave with care. Steam is hot. Let the parts cool slightly.
Step-by-Step: How to Use a UV Sterilizer
For the question of which baby bottle sterilizer is best for travel, UV sterilizers are often chosen. Here is how to use them.
Step 1: Clean First
Wipe or wash bottles before using UV. UV works best on clean surfaces.
Step 2: Place Items in the Chamber
Lay parts so light reaches all surfaces. Avoid overlapping items.
Step 3: Start Cycle
Close the lid and press start. Wait for the light to finish the cycle.
Step 4: Store or Use
Some UV sterilizers keep items sterile for hours. Follow the manual for storage guidance.
Step-by-Step: How to Use Chemical Sterilizing
Some parents ask which baby bottle sterilizer is best when traveling or without power. Chemical methods work well. Here are steps.
Step 1: Mix Solution
Use the recommended tablet or liquid. Mix in cool water. Follow dose instructions closely.
Step 2: Submerge Items
Keep everything covered by the solution. Let them soak for the recommended time.
Step 3: Rinse if Needed
Some products require no rinse. Check the label. If you rinse, use sterile or boiled water.
Cleaning and Maintenance Tips
To answer which baby bottle sterilizer is best, you must know how to care for it. Regular care keeps it working well and safe.
Descale Steam Units
Use white vinegar or a descaling product as directed. Do this monthly or when you see buildup.
Replace UV Bulbs
UV bulbs lose power over time. Replace them per the manual schedule.
Check Seals and Trays
Inspect rubber seals and removable trays. Replace worn parts to avoid leaks.
Store Cleanly
Keep the sterilizer in a dry place. Do not store with dirty parts inside. Store with the lid slightly open if the manual suggests it.
Practical Examples and Real-Life Use
Let’s look at some real routines. These show how the answer to which baby bottle sterilizer is best can differ by lifestyle.
Example 1: Night Feedings
For late-night feeds, speed matters. A fast electric steam sterilizer is great. It readies bottles quickly. It keeps extras warm and sterile.
Example 2: Small Apartment
Limited counter space calls for a compact model. A microwave steam sterilizer or small UV unit fits well. They store easily when not in use.
Example 3: Travel and Daycare
If you travel often, pick a portable UV or chemical method. They are light and simple. They let you sterilize without power or big equipment.
Troubleshooting Common Issues
Even the best sterilizer can have problems. Here are easy fixes when you ask which baby bottle sterilizer is best for reliability.
Issue: Unit Won’t Start
Check the power plug. Make sure water is at the correct level. Read the manual for safety switches.
Issue: Strong Odor
Run a descaling cycle. Use a vinegar solution per the manual. Rinse well and air dry.
Issue: Water Left in Base
It may be low power or an interrupted cycle. Empty and dry the base. Try again with fresh water.
Issue: Items Still Wet
Allow more cooling time. Some models leave parts damp. Wipe with a clean cloth or air dry before storing.
Safety and Health Notes
When you consider which baby bottle sterilizer is best, safety is key. Follow product instructions. Keep electrical models away from water spills. Never leave a running unit unattended for long. Use approved parts and avoid damaged bottles. For chemical sterilizers, store tablets safely away from children.
Budgeting and Where to Buy
Prices range from low-cost microwave models to higher-end UV units. Decide what matters most: speed, size, or portability. Buy from trusted retailers. Check return policies and warranties. Look for models with clear manuals and easy parts replacement.
Top Features to Look For
- Fast cycle times for quick turnovers.
- Large capacity for multiple bottles and parts.
- Easy to clean parts and removable trays.
- Auto shutoff and safety locks.
- BPA-free materials and third-party safety approvals.
- Compact design for small kitchens and travel-friendly options.
Verdict: How to Decide Which Is Right for You
When asking which baby bottle sterilizer is best, list your needs. If you need speed, pick an electric steam model. If you need travel ease, pick a UV or chemical option. If you have limited space, pick a microwave model. Balance price with the features that matter most to you. Read reviews from real parents. Consider warranty and replacement parts.
Conclusion
Choosing which baby bottle sterilizer is best is personal. Think about your routine, space, and budget. Use the step-by-step guides to operate any model safely. Keep your sterilizer clean and well-maintained. With the right choice, bottle care becomes simple and stress-free. Your baby gets clean bottles. You get peace of mind.
🎥 Related Video: How to use Philips Avent bottle sterilizer #swatimahendru #newbornbaby #pregnancyvlog #babysafe
📺 Simply Swati Mahendru
