Why baby bottles need sterilization is all about keeping feeding safe. This guide explains when to sterilize, easy methods, step-by-step instructions, and common fixes. Follow simple steps to protect your baby from germs and infections.
Key Takeaways
- Point 1: Sterilization removes harmful germs that regular washing can miss.
- Point 2: Sterilize new bottles and after illness, and for babies under 3 months, preemies, or low immunity.
- Point 3: Multiple safe methods exist: boiling, steam, microwave, chemical, and dishwasher sterilizing.
- Point 4: Clean first, then sterilize. Dirt blocks sterilization and helps germs survive.
- Point 5: Follow clear times and steps for each method to be effective and safe.
- Point 6: Watch for wear, cloudy bottles, and residue. Replace damaged gear promptly.
Introduction: What you will learn
This guide covers why baby bottles need sterilization and how to do it well. You will learn when to sterilize. You will learn fast and safe methods. You will get step-by-step instructions. You will find tips and troubleshooting help. The aim is simple. Keep your baby safe at feeding time.
Why sterilize baby bottles?
Babies have weak immune systems. They cannot fight germs like adults. Bottles, nipples, and pump parts touch milk and mouths. Germs can grow in milk residues. These germs can cause tummy upsets, infections, and worse. That is why we must clean and sterilize. Cleaning removes dirt. Sterilizing kills germs. Together they lower infection risk. This explains why baby bottles need sterilization in clear terms.
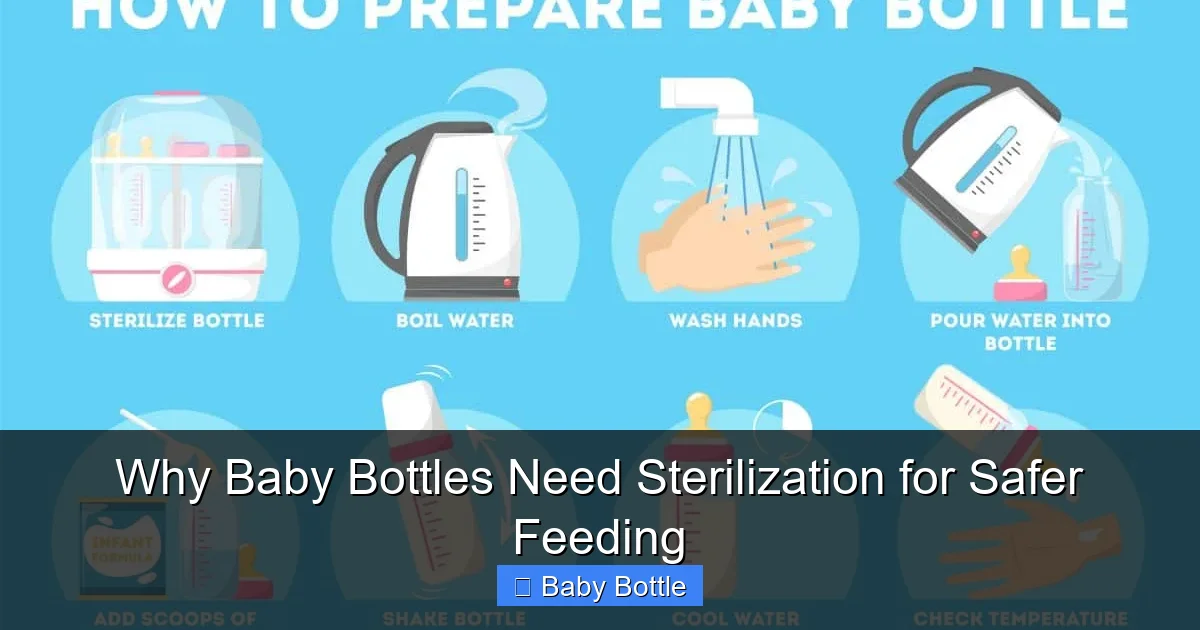
Visual guide about Why Baby Bottles Need Sterilization for Safer Feeding
Image source: littleonemag.com
When to sterilize bottles
Not every feed needs sterilization, but there are times it is essential. Sterilize:
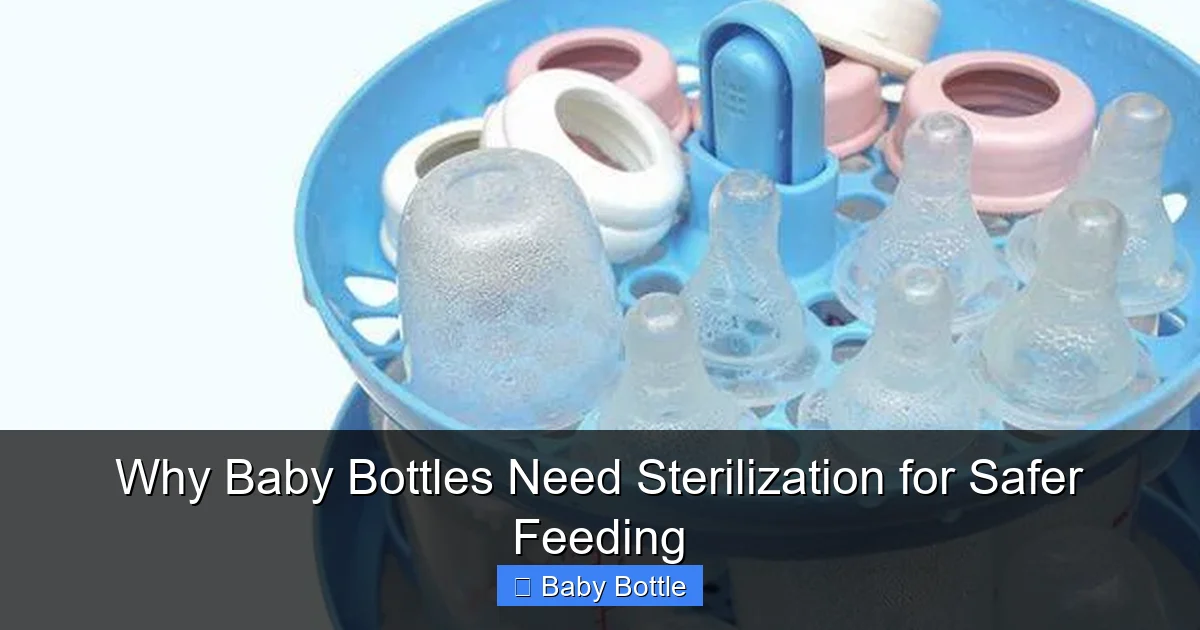
Visual guide about Why Baby Bottles Need Sterilization for Safer Feeding
Image source: cdn2.momjunction.com
- Before first use of new bottles.
- For babies under 3 months.
- For preterm or low-weight infants.
- After baby is sick or has been given antibiotics.
- When you are traveling or unsure of water safety.
- If the bottle looks cloudy or has sticky residue.
These moments matter. They lower the chance of harm. They explain more on why baby bottles need sterilization.
Cleaning first: the crucial step
Cleaning comes before sterilizing. Sterilizing dirty items is less effective. Food and milk crumbs protect germs. Follow these quick steps before sterilizing.
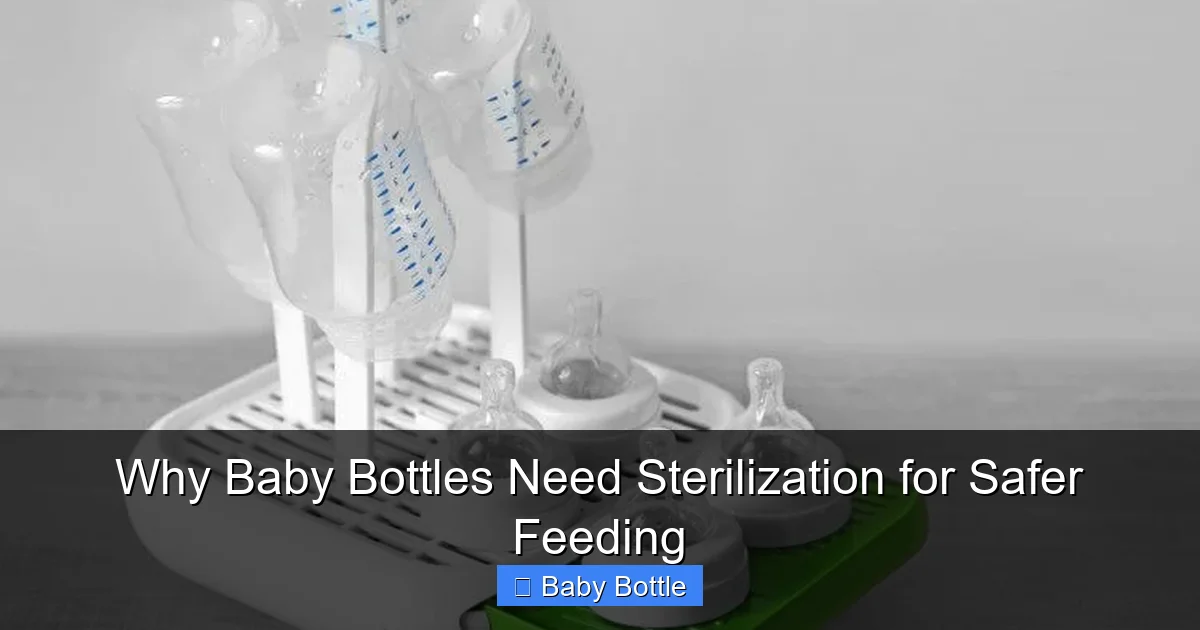
Visual guide about Why Baby Bottles Need Sterilization for Safer Feeding
Image source: mamanatural.com
Step 1: Disassemble
Take bottles apart. Remove nipples, rings, caps, and valves. Lay parts on a clean towel.
Step 2: Rinse
Rinse with warm water. This removes loose milk and dirt. Use running water if you can.
Step 3: Wash
Use hot, soapy water or a dishwasher. Clean with a bottle brush. Clean inside nipples too. Rinse well so no soap remains.
Step 4: Inspect
Check parts for cracks, sticky film, or cloudiness. Replace any worn or damaged items.
How to sterilize: quick 6-step guide
Here is a short, general method that works for many sterilization styles. Follow these steps after cleaning.
Step 1: Choose a method
Pick boiling, steam sterilizer, microwave, chemical sterilizer, or dishwasher. Choose what you have and trust.
Step 2: Place parts correctly
Put items in the sterilizer or pot. Spread them out. Do not stack tightly.
Step 3: Use correct time and temp
Follow method times. Boiling needs 5–10 minutes. Steam devices have set cycles. Chemicals need correct dilution and time.
Step 4: Remove with clean hands or tongs
Use sterile tongs or clean hands. Place items on a clean surface or towel to dry.
Step 5: Store safely
Keep sterilized items dry and covered. Use them within a safe window — usually 24 hours if kept closed.
Step 6: Replace when needed
Replace nipples and bottles at signs of wear. Sterilization cannot fix cracks or warping.
Method 1: Boiling bottles
Boiling is easy. It works with basic kitchen tools. It kills most harmful germs when done right.
What you need
- A large pot with lid
- Clean tongs
- Working stove
How to do it
Fill the pot with enough water to cover all parts. Bring the water to a rolling boil. Add bottles and small parts. Use tongs to avoid burns. Boil for 5 to 10 minutes. Turn off the heat and let cool. Remove parts with clean tongs. Place on a clean towel to dry.
Tips and examples
Use gently rolling boil. Do not let bottles touch pot sides hard. Use a pot with a lid to keep steam. Boiling works well for glass and many plastics. Check bottles are heat safe.
Method 2: Electric steam sterilizer
Electric steam sterilizers are fast and hands-off. They use hot steam to kill germs. Many are made for baby gear.
What you need
- Steam sterilizer unit
- Clean water
- Electric outlet
How to do it
Follow the maker’s instructions. Add the right water amount. Place items in the rack. Close the lid. Turn on and allow the full cycle. Most cycles last 6 to 12 minutes. Wait until the cycle ends and cool down. Remove parts carefully.
Tips and examples
These units keep bottles sterile for up to 24 hours if the lid stays closed. They are quick at home. They are handy for busy parents. They work well for many types of plastic and glass.
Method 3: Microwave steam sterilizer
Microwave sterilisers use steam too. They are fast and fit into small kitchens. Use only microwave-safe parts.
What you need
- Microwave steam sterilizer or steam bag
- Microwave oven
How to do it
Place clean parts in the sterilizer. Add correct water amount. Close the lid. Microwave for the time the maker advises. Times usually range from 1 to 6 minutes. Use oven mitts to remove. Let cool a bit before opening.
Tips and examples
Do not microwave bottle nipples loose. They can melt or degrade. Use only items marked microwave-safe. Keep a towel ready to place hot items on.
Method 4: Cold water chemical sterilization
Chemical sterilizers use tablets or liquid. They work without heat. They are useful when no stove or electricity is available.
What you need
- Sterilizing tablets or liquid
- Large container with lid
- Clean water
How to do it
Fill the container with cold water. Add the correct amount of chemical. Stir until dissolved. Submerge all parts fully. Close the lid. Keep parts submerged for the time given — usually 15 to 30 minutes. Remove with clean tongs. Rinse if directed by maker. Use within safe time.
Tips and examples
Good for travel and camping. Follow mixing ratios closely. Some chemicals leave taste if not rinsed. Check the product label for safe use with breast milk or formula.
Method 5: Dishwasher sterilization
Many modern dishwashers have a hot sanitizing cycle. This can sterilize bottles and parts. Check your dishwasher’s temp and baby gear labels.
What you need
- Dishwasher with sanitizing or high-temp setting
- Bottle basket or top rack
How to do it
Place items on the top rack or in a basket. Use a hot wash and sanitize cycle. Allow cycle to cool before opening. Remove items and let dry on a clean towel or rack.
Tips and examples
Not all plastics are dishwasher safe at high heat. Check labels. Sanitizing cycles reach high temps. They are good for quick cleaning and sterilizing together.
Method 6: UV light sterilizers
UV sterilizers use light to kill germs. They are quick and chemical-free. They work well for small parts and portable use.
What you need
- UV sterilizer box or wand
- Power source
How to do it
Place clean parts inside the box. Close the lid. Start the cycle. Times depend on the unit. Follow the maker’s instructions. If using a wand, expose surfaces to the light slowly and evenly.
Tips and examples
UV units do not remove dirt. So clean first. Do not leave items in direct sunlight as a substitute. UV works best for quick touch-ups and travel.
Storing sterilized bottles
Storage matters. Sterile items can be recontaminated. Keep them sealed and dry.
- Store bottles with lids on in a clean box or covered container.
- Use within 24 hours if left on a counter.
- If stored in a closed sterilizer, follow the maker’s guidance—often up to 24 hours.
- Always handle with clean hands or tongs.
How often should you sterilize?
Daily sterilization is common for young infants. For older babies, sterilize often but not necessarily after every feed. If your baby is healthy and over 3 months, hot soapy washing may be enough. Still, know why baby bottles need sterilization for certain times like illness or preterm care.
Signs you must replace bottles and nipples
Sterilization cannot fix worn parts. Replace items when you see:
- Cracks or deep scratches.
- Sticky or cloudy film that won’t clean.
- Discoloration or warping.
- Nipples that are stretched, torn, or tacky.
Always keep spares. Damaged parts can trap milk and germs. This is another part of knowing why baby bottles need sterilization and safe care.
Practical tips and real examples
Here are plain tips to make sterilizing easy.
- Label a clean bin for sterilized gear. Store it away from trash.
- Use a dedicated bottle brush and keep it dry between uses.
- For busy nights, sterilize at bedtime and store sealed bottles for the next day.
- On trips, use chemical sterilizing tablets or steam bags. They fit in a suitcase.
- If water is unsafe, always use boiled or bottled water to clean and reconstitute formula.
Troubleshooting common problems
Here are common issues and quick fixes.
Problem: Cloudy bottles after sterilizing
Cause: Mineral deposits from hard water. Fix: Soak in a vinegar solution (1 part white vinegar to 4 parts water) for 15 minutes. Rinse well and re-sterilize.
Problem: Sticky film or smell remains
Cause: Not cleaned well before sterilizing. Fix: Rewash with hot, soapy water and a bottle brush. Then sterilize again.
Problem: Plastic looks warped after boiling
Cause: Not heat-safe plastic. Fix: Check labels for heat resistance. Use steam sterilizer or dishwasher instead. Replace warped bottles.
Problem: Chemical sterilizer tastes or smells
Cause: Not rinsed if product requires rinsing. Fix: Read the product label. Rinse parts if instructed. Try a different chemical brand if taste persists.
Problem: Sterilizer not working
Cause: Low water, power issue, or broken unit. Fix: Check water level and power. Contact maker for help. Use boiling as a backup method.
Safety notes and myths
Some parents worry sterilizing removes all microbes forever. That is not true. Sterilizing reduces harmful germs. It does not make things permanently sterile. Babies will meet microbes in the world. That helps build immunity too. The goal is to reduce harmful exposure, not to create a germ-free life.
Another myth is that only electric sterilisers work. That is false. Boiling and chemical methods are effective when done right.
Environmental and cost tips
Sterilizers use water and energy. Here are ways to be eco-friendly and save money.
- Boil only what you need. Use a small pot for a few items.
- Use cold water chemical sterilizers that need no power when traveling.
- Use dishwasher cycles for a combined clean-and-sterilize step if your machine has a sanitize option.
- Reuse bottles until they wear. Replace only when needed.
Recap: Core reasons and actions
Remember the main point: why baby bottles need sterilization is to protect your baby from germs that can cause illness. Clean first. Choose a method. Follow times and steps. Store cleanly. Replace worn parts. These actions reduce infection risk and make feeding safer.
Conclusion
Sterilizing baby bottles is a simple and powerful step. It lowers the chance of stomach bugs and infections. It protects newborns, sick babies, and preemies. You now know the reasons and many ways to sterilize. You have step-by-step methods and tips. Keep tools clean. Follow the steps. And choose the method that fits your life. Safe feeding start with clean and sterilized bottles. That is the heart of why baby bottles need sterilization.
🎥 Related Video: Is Sterilizing Baby Bottles Necessary?
📺 The New York Times
Subscribe on YouTube: http://bit.ly/U8Ys7n Ask Well – Your mother and grandmother may have sterilized baby bottles, but the …
