Replace baby bottles and nipples at the first sign of damage, clouding, scratches, or warping to prevent leaks, bacterial buildup, and choking hazards. Aim to swap nipples every 2–3 months or sooner if worn, replace plastic bottles about every 4–6 months (or immediately if scratched/discolored), and replace glass bottles if chipped or cracked—always follow manufacturer guidance.
Key Takeaways
- Replace cracked or cloudy bottles: Toss immediately to prevent bacteria and choking hazards.
- Replace nipples every 2–3 months: Or sooner if hole enlarges or material stiffens.
- Consider material lifespan: Plastic bottles may need replacing yearly; glass lasts longer.
- Replace after persistent stains or odors: Switch to avoid taste and hygiene issues.
- Follow manufacturer and safety recalls: Check guidelines and replace if recalled or safety concerns arise.
- Inspect regularly: Look weekly for damage, discoloration, or seam separation.
Why This Matters / Understanding the Problem
If you’re like me, you’ve stood at the sink holding a cloudy bottle and wondered, When should baby bottles be replaced and how often?
It feels small. But bottles touch your baby’s mouth dozens of times a day. Tiny cracks and worn nipples can hide bacteria. They can change how milk flows. That can upset a baby or cause choking. So knowing when to replace bottles matters.
I once kept a favorite plastic bottle too long. The nipple had a hairline tear I missed. My son refused it one morning and I learned the hard way to inspect every piece. After that, I made a simple routine. It saved time and kept feeding calm.
This article walks you through clear steps and real-life tips. It shows what to watch for and how to decide When should baby bottles be replaced and how often. You’ll get easy checks, a cleaning plan, and a system for tracking replacements.
What You Need
Before we jump in, gather the basics. These make inspections and replacements quick and painless.
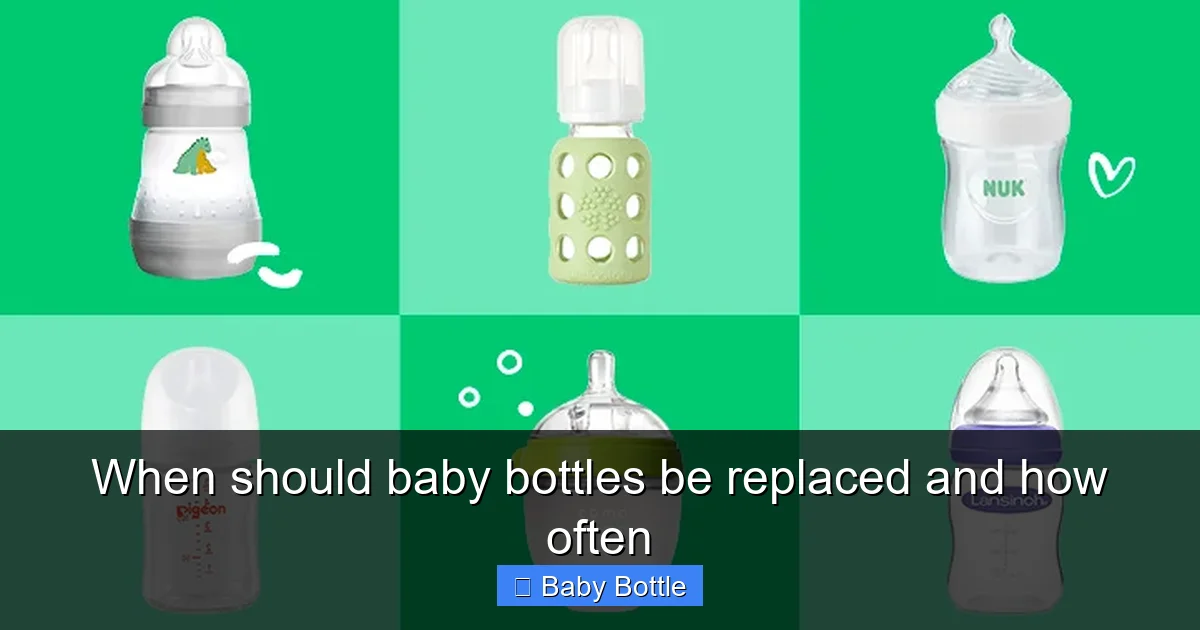
Visual guide about When should baby bottles be replaced and how often
Image source: images.agoramedia.com
- Bottles: plastic, glass, or silicone—whatever you use.
- Nipples and caps: a few extras so you can swap quickly.
- Soft bottle brush: for scrubbing corners and threads.
- Small nipple brush or pin: to clean the air vent and small holes.
- Mild dish soap or baby-safe detergent.
- Sterilizer (optional): electric, microwave bag, or boiling pot.
- Clean towel or drying rack: for air drying.
- Fine-tip permanent marker or labels: to date bottles and nipples.
- Magnifying glass (optional): helps spot hairline cracks in clear bottles.
Having extras helps. Replace nipples fast when they wear out. Keep a labeled drawer with fresh nipples and a replacement bottle.
Step-by-Step Guide to When should baby bottles be replaced and how often
The headline question is clear: When should baby bottles be replaced and how often? Below is a simple routine you can follow weekly and monthly. It’s practical, not perfect. It will save time and cut stress.
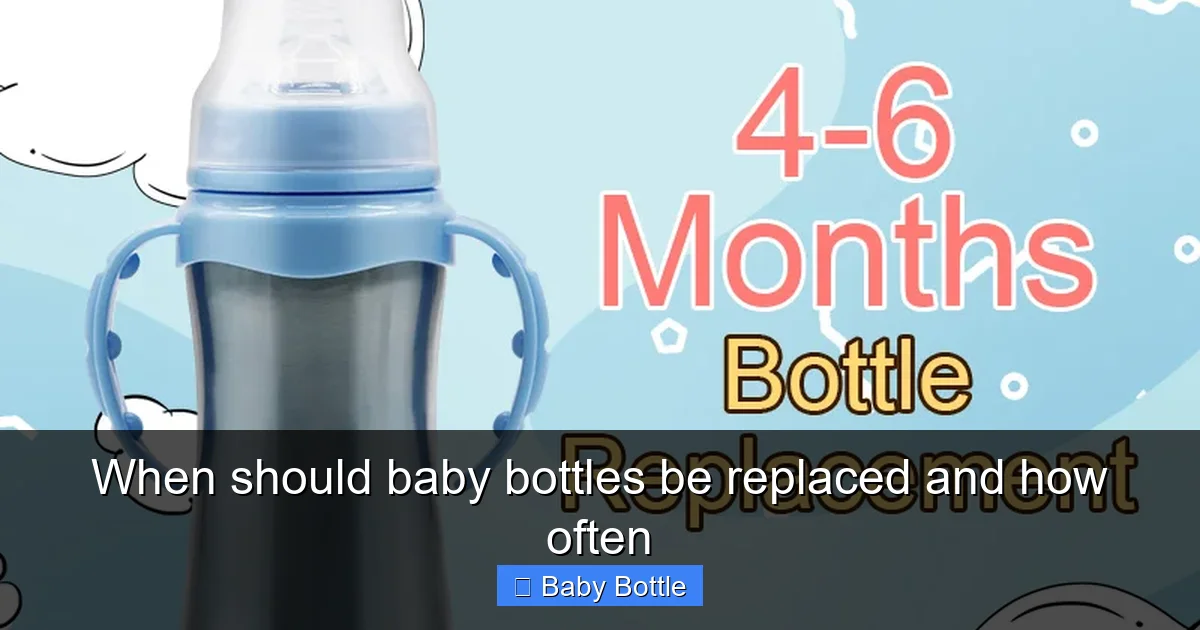
Visual guide about When should baby bottles be replaced and how often
Image source: baifacn.com
Step 1: Set a baseline schedule
Decide on a routine day of the week to inspect bottles. I picked Sunday evenings. It becomes part of laundry or meal prep. A weekly check lets you catch problems fast.
Baseline rules I follow:
- Inspect every bottle and nipple weekly.
- Replace nipples every 2–3 months, or sooner if damaged.
- Replace plastic bottles every 6–12 months, glass only if damaged.
Step 2: Do a visual check
Start with a bright light. Hold the bottle up and look for cloudiness, scratches, or hairline cracks. Turn the nipple inside out to check for tears.
Signs to replace now:
- Visible cracks or deep scratches.
- Cloudy or white film that doesn’t scrub off.
- Discolored plastic that smells faint even after washing.
- Nipples with thinning, tears, or holes that are not the designed flow holes.
Step 3: Feel and flex the parts
Run your fingers over the bottle threads and the nipple base. Flex the nipple gently. Does it spring back? Soft spots and sticky surfaces can mean material breakdown.
If a nipple feels sticky or tacky, replace it. If the bottle flexes easily when it used to be firm, it may be time to replace the bottle too.
Step 4: Use the “fill and press” test
Fill the bottle with warm water. Squeeze the bottle firmly. Look for leaks at the seams, caps, and around the nipple.
Also watch how the nipple hole behaves. If it tears or widens under pressure, replace it immediately.
Step 5: Check flow and baby response
Feed your baby with the bottle and watch their cues. If milk spills too fast or the baby struggles to get milk, the nipple flow may be wrong or worn.
Signs nipples need replacement:
- Milk gushes unexpectedly.
- Baby chokes, coughs, or sputters during feeds.
- Baby refuses the bottle that used to be fine.
Step 6: Track the age of each item
Mark dates on bottles and nipples with a fine-tip permanent marker. Write the purchase date or the date you opened the package. Keep a small log in your phone if you prefer.
Example system I use:
- Label spare nipples with the month and year opened (e.g., “Apr 2026”).
- Rotate nipples monthly so none sit unused for ages.
- Replace plastic bottles at the 9–12 month mark unless earlier signs appear.
Step 7: Know recommended timelines by material
Materials wear differently. Here’s a practical guide:
- Plastic bottles: Replace every 6–12 months, or sooner if scratched or cloudy.
- Glass bottles: No set timeframe. Replace if cracked, chipped, or if seals degrade.
- Silicone bottles: Replace every 6–12 months, depending on wear and manufacturer advice.
- Nipples: Replace every 2–3 months for most babies. For heavy chewers or frequent use, replace monthly.
Keep in mind the keyword: When should baby bottles be replaced and how often? These timelines give a clear answer based on material and use.
Step 8: Replace after illness
If your baby has a stomach bug, cold, or other infection, consider replacing nipples and pacifiers after recovery, or sterilize them thoroughly.
Germs can hide in tiny grooves. I replace nipples after my kids have a bad stomach virus. It’s one less thing to worry about.
Step 9: Use proper cleaning and sterilizing
Cleaning well delays replacements. Wash bottles and nipples immediately after use. Use warm soapy water and a brush that reaches all parts.
Sterilize as needed:
- Boiling: 5 minutes for most bottles and nipples (check manufacturer recommendations).
- Electric steam sterilizer: follow device instructions.
- Microwave sterilizer bags: convenient, but check bottle compatibility.
Step 10: Inspect after dishwasher cycles
Dishwashers can stress some plastics. After a few dozen cycles, inspect bottles for warping or clouding. High heat and detergent can wear materials faster.
If you want dishwashing convenience, use top-rack only and a gentle cycle. Still, check weekly for early signs of wear.
Step 11: Decide based on baby’s behavior and safety
The ultimate test is your baby. If your baby resists a bottle, coughs, or seems uncomfortable, stop and inspect. Sometimes a simple nipple swap fixes the issue.
When in doubt, replace the nipple. It’s cheap relative to peace of mind.
Step 12: Dispose of old bottles safely
When you throw out a bottle, tear the nipple and cut the bottle so no one else uses it accidentally. Recycle parts if your area accepts them.
Label old bottles “trash” or “non-food use” if you keep them for crafts. This prevents accidental reuse.
Pro Tips & Common Mistakes to Avoid
These are the things I learned by messing up once or twice. They saved me time and worry.
Visual guide about When should baby bottles be replaced and how often
Image source: babyandbib.com
Tip: Keep a small stash of ready-to-use nipples in your changing bag. You’ll thank me at 2 a.m.
Warning: Don’t assume a clear bottle is safe. Tiny hairline cracks are hard to see but can harbor bacteria and leak under pressure.
- Common mistake: Waiting until a nipple tears in the middle of a feed. Replace proactively every 2–3 months.
- Pro tip: Rotate nipples. Open one pack and use them one at a time. This keeps all nipples used and replaced on schedule.
- Common mistake: Using abrasive scrubbers. They scratch plastic and create hiding spots for bacteria.
- Pro tip: Date everything. A quick label beats guessing when something was opened.
- Common mistake: Relying only on dishwasher sterilization for plastic bottles. Heat cycles can degrade some plastics faster.
- Pro tip: Have at least one glass bottle. Glass doesn’t stain or scratch as easily. It’s great for older babies and home use.
- Common mistake: Keeping bottles stored with residue. Clean immediately. Dried milk is a magnet for bacteria and smells.
FAQs About When should baby bottles be replaced and how often
Below are common questions I’ve heard from friends and readers. They include clear answers and short steps you can act on.
1. How often should nipples be replaced?
Most experts and parents swap nipples every 2–3 months. If your baby chews a lot or you see tears, replace them sooner. The keyword here—When should baby bottles be replaced and how often—means nipples often need faster turnover than bottles.
2. Do glass bottles need replacing?
Glass bottles don’t wear out like plastic. Replace them only if they crack or chip. Still, check seals and caps regularly. A cracked glass bottle can be dangerous, so inspect it weekly.
3. Is cloudy plastic always bad?
Not always. Some clouding is minor and cosmetic. But if the bottle is cloudy after scrubbing, or it smells, replace it. Clouding often means microscopic scratches where bacteria can hide.
4. Should I replace bottles after my baby is sick?
Yes, consider replacing nipples and sterilizing or replacing bottles after illnesses like stomach bugs. It’s an easy way to reduce the chance of reinfection.
5. Can I reuse old bottles for water or crafts?
Yes, but mark them clearly and don’t use them for food. Cut the nipple and bottle or store as a non-food item. Recycled craft use is fine, but keep them out of reach of infants.
6. How do I know if a nipple flow is wrong?
If milk pours too fast, the hole has enlarged or the flow is too slow if it’s clogged. Baby coughing, choking, or long hard sucking are signs. Swap to a different flow nipple and watch how the baby feeds.
7. Are there safety differences between brands?
Some brands use more durable materials. Read labels and check for BPA-free and heat-resistant claims. Still, even the best brand needs regular inspection. Brand does not replace routine checks for When should baby bottles be replaced and how often.
🎥 Related Video: When should you replace your baby bottles? #newparents #organicformula #newborn #parenthoodprep
📺 Organic’s Best
It’s more important than you think! Whether it’s cracks, discoloration, or just the wear of time—these could be signs to switch out …
Final Thoughts
Answering When should baby bottles be replaced and how often comes down to a mix of schedule and common sense.
Set a weekly check, date your nipples, and replace based on wear, baby cues, and material. Nipples are the highest-priority item. Replace them often. Plastic bottles usually need replacement within a year. Glass bottles last much longer if cared for.
Make the routine tiny and repeatable. A five-minute Sunday check will save stress and improve feeding safety. Trust your eyes and your baby’s cues.
There’s no perfect timeline. But with these steps, you’ll always be confident that your bottles are safe and ready when your baby is hungry.
If you want, try my simple starter routine this week: inspect all bottles and nipples, date any unlabeled pieces, and replace any nipple that’s older than three months or shows wear. Small steps make feeding calmer and safer.
